Start to Stitch
  • Home
  • About
    • Contact
  • Shop
    • Patternweights
    • Embroidery Kits
    • Tools & Equipment
    • Sewing Gifts
    • Sewing Patterns
    • Course Kit Store
    • Live Workshops
    • Gift Cards
  • Blog
  • Online Courses
    • Student testimonials
    • Student Log In

WHY DO I DO WHAT I DO?

21/6/2021

0 Comments

 
It's a personal post today - and it's on the long side - but it's important, and if you're a woman especially, you need to read this.
​

You all know what I do…
​but do you know why I do it?
​

I believe in a person’s right to feel good about themselves.
​


We’re all fed the ‘learn to love yourself’ mantra, but if you are a survivor of sexual abuse trauma, like me, or any other trauma for that matter, especially one that happened during your developmental years ( when your neurological patterns are laid down to inform the way you experience and interact with the world ) then this is HARD.


The cultural narrative around a woman’s place in society, mapped out through a societal attitude to her body, compounds this stuff ten fold. As most of your are women I know I don’t need to give you any examples, and if you’re a male, then I’m sure you’ve been party to conversations at times about female bodies that would make us women shiver - even if you haven’t partaken yourself. I’m sure you haven’t.


Too thin, too fat, too booby, too bummy, too chubby, muffin top, mum tum, flat chested etc etc. When you stop to think about it what actually IS perfect?


For a long time I managed the conflicting feelings around my trauma with disordered eating including both bulimia and anorexia - and while I am now recovered from both of those conditions they have morphed into Body Dysmorphia, which despite being a UK size 10, is something that rules most of my waking moments ( much to my poor and patient husbands despair ) …


Ready to wear clothing DOES NOT HELP this situation for me, for the plus size women in my life, for the athletic types, for those with a postnatal diastatis recti, boobage 4 inches lower than it once was due to carrying and feeding their kids (erm guilty m’lord), for the less abled, for those who have lost limbs, use a wheelchair, or have a stoma - these are all differences that have a massive issue on the clothes we choose to wear.


In reality no two of us are the same - check out this image from this article

​All of these women are 11 stone, and yet the differences are various!

Picture
Credit: Mail Online - see link above
My body dysmorphia got so bad at one point that shopping became something I really had to psyche myself to do.


If I needed jeans, going to a store to try them on involved deep breaths, go in, remind myself I’m healthy, I’m happy, there is more to life than my weight, will they do? yes they’ll do? Do I feel good in them? God what does that even feel like? I’m never going to feel good in anything… too many rolls, too much spill over the top - do the pockets make my hips look wider? Argh I feel sick. Hand over the cash and get out of the store as fast as possible. Back to home, and back to baggy jumpers.


Listen up though - because I am about to turn this on its head…


People we have NEVER met, in offices where we have never been, are designing clothes for our bodies ( that they actually know nothing about ) and we are being forced to dance to their tune.


Did you know that sizes in the UK were first standardised in 1951 - when post war we were all smaller, less well nourished and far more active….


…and we still mostly use these data today ( in fact the whole system of sizing is fascinating if you’d like to read more you can here ) but the sizing labels have slipped and slid across the grid - leaving me ( a UK size 14 in old money ) mostly a UK 10, but sometimes an 8 and sometimes a 12.


I HAVE HAD ENOUGH


And I’m pretty sure you have too.


So, what is the solution?


MAKE. YOUR. OWN.


Don’t let someone else tell your body is crap. Don’t let someone else decide that your body isn’t ‘normal’. Who the hell are these people anyway?


Don’t let the Fall ‘21 fashion collections make you feel like a lonely pony because they’re all muted autumnal tones and you absolutely adore acid brights. What are you supposed to do?


I’ll say it again - MAKE. YOUR. OWN.


Ok so now you’re thinking Its all very well and good because I can sew, and you can’t, and it’s obviously far easier said than done.


And then of course there was probably that awful textiles teacher you had at school who made you make a horrific nylon nightie and told you you’d never have a successful garment because you’re stitching was wonky and your seams were puckered. But there we go again - someone else dictating to you what you should be doing - and who the hell is going to ever get excited about a nylon nightie?!


I believe that you are worth more than this. That you have the freedom and power to choose.
This is why Start to Stitch exists, and you’re going to be hearing so much more about it from now on because it underpins absolutely everything I do and I have realised that I rarely share this huge passionate driver that weaves through everything I do to help my students to get to this point.


To find the confidence, and the conviction, and the space and time to do this thing for themselves, to start with the skills and set themselves free from those people we’ve never met, in offices we’ve never been to, designing clothes for bodies that aren’t ours.


And it all starts with some very simple skills.


If you have NEVER sewn, if you can sew a bit but are a bit self taught and a bit unsure, if you are still traumatised by that nylon nightie witch of a teacher you had in the 4th form, NOW IS YOUR TIME TO SHINE.

You won’t get any of that from me - I promise. All you will get is support, encouragement, and a strong belief in you, that you can do it, and that you too can stop thinking about your body as one that has wobbly bits that don’t fit someone else’s template, and feel the freedom to fly in your own creativity and embrace who you really are, what your actual inner style is and create clothes for yourself that you LOVE to wear.

There is SO MUCH in the offing and planning but, you know, life, pandemics etc and I can’t wait to bring the new to you of these new programmes.

But LEARNING TO SEW - on courses like my online programme Back to Basics  is the first step to FASHION FREEDOM.

And nurturing my students to find their wings and fly into their creativity is the absolute life and soul of my business.

I believe that we all have a right to feel good about ourselves - and that includes you my friend.  

I believe in YOU.

Pssst - if you haven't yet booked onto my beginners / refreshers programme Back to Basics - you can get a cheeky £30 off with the code WANNABEFREE - all the course info is here - or you can go straight to booking here.  The next round starts this Thursday 24th June! But you can join up at any time ( you will just miss out on our live zooms - which isn't where the teaching happens, even though they're a lot of fun! )
0 Comments

SEWING 101: Glossary of basic terms ( for total beginners )

6/5/2021

0 Comments

 
If you’re new to the world of sewing and garment making, first of all - welcome! You’ve entered into a magical world of creativity and individuality, and I’m so glad you’re here. When you discover a new hobby, sometimes the terminology and additional hobby-focused information can be a little overwhelming at first. We’ve all been there, trust me. But never fear, because I am here to help!

As well as hosting Beginner and Intermediate Sewing online courses, I also run workshops and  evening courses. Feel free to view our course page if you’re interested in finding out more information on the type of tuition I can offer you. I’m experienced in teaching beginners everything they need to know about sewing, and often find that terminology queries arise on my social media channels, and the Stitch Sewcial Facebook Group.

Getting started with sewing is an exciting and rewarding experience, so let’s go through the A-Z of basic terminology you’re likely to come across as a beginner sewist. 

Note: This glossary has been written for beginners!

This blog post is aimed at complete beginners who want to start creating projects straight away. A more comprehensive list of sewing terms will be available in the future - sign up to the Start To Stitch newsletter if you’d like to be among the first to receive it.

A
​
Applique:
​
Sewing a piece of fabric on top of another layer of fabric, so that they seamlessly look as one. The layer that you’re applying on top is sometimes folded slightly at the edges to create a clean look, or a satin stitch is used to completely cover the raw edge of the piece being appliqued. 

B

Back-tack / back-stitch:
This stitch is used at the beginning and end of a sewing machine seam to anchor the thread in place. It refers to adding a couple of extra stitches backwards and forwards and can also be referred to as back tracking. Back-stitching can also refer to a type of embroidery stitch.

Baste or basting-stitch (also known as tacking):
Temporary stitching used to hold fabric in place; this is removed when your permanent sewing is done. Can be done by hand or sewing machine.

Bias:
Diagonal cross-grain of the fabric at 45 degrees; the area of fabric that has the most stretch.

Bias binding:
Narrow strips of fabric that are cut on the  bias of the fabric at 45 degrees; the area of fabric that has the most stretch.  This makes a tape that can be used to bind or face curved areas of your make.

Bobbin:
A plastic or metal spool that you wind thread around. It goes into the bottom of your sewing machine to feed a line of thread beneath the needle and must be inserted and wound up properly.

Bodkin:
A long, flat, needle-like tool with a blunt end that is used to thread elastic, ribbon and other materials through casing. We sell some lovely, handmade wooden bodkins in our Start To Stitch shop.

Buttonhole:
A small cut in the fabric that’s bound with small stitching. The hole is just big enough to allow a button to pass through it.

C

Casing:
A folded over edge in a garment, usually around the waist. Used to enclose a way of adjusting the fit of the garment, such as using a draw string.

Charm Square:
Precut 5″ squares pieces of fabric used for patchwork and other sewing projects.

D

Darning: 
Repair a hole in clothing without using a patch.

Double-fold hem:
A hem that’s folded once to enclose the raw edge of the fabric, then folded again for the hem allowance. 

Drafting:
Creating a sewing pattern based on body measurements.

E

Ease: 
A way of sewing a length of fabric into a bit of a smaller space without resulting in gathers or puckers. 
Also – the amount of space in a garment to enable it to fit the body better.

Edging:Trims or decorative needlework that is used on the edge of the fabric.

Embellishment:
A decorative item added to a craft project for aesthetic reasons; includes beads, buttons, patches etc.

Eyelet:
Small holes are cut out in the fabric, then finished with an embellishment of thread around the opening.

F

Fastener:
The method of fastening two separate bits of fabric together, such as zippers or buttons. 

Facing:
A piece of fabric that is stitched to an opening such as a neckline, armhole or hem, on the inside of the garment.  It stabilises this area and ensures a smooth fit and finish.

Fat Quarter:
As the name suggests, a fat quarter is a quarter of a metre of fabric but instead of being a strip cut on a linear length, it is a square (and because its a US measurement for quilting measures 18×22. It’s often used for patchwork and other crafting projects. Here’s a YouTube explanation that delves into what a fat quarter is and how it’s measured.

Feed dog:
Metal teeth like ridges that help to push the fabric along as you sew.

Fold line:
This refers to the fold in the centerfold or along the grain of your fabric. Many pattern pieces are placed on the fold line for cutting out.

Foot Pedal:
The part of a sewing machine that controls the speed at which the needle enters the fabric, and therefore the speed at which you sew. It is controlled by your foot and usually attaches to the sewing machine via a cable.

French seam:
A seam often used on delicate and sheer fabrics that helps to hide any raw edges in a neat double fold. Seam allowances are enclosed in this type of fold. 

G

Gather:
Running a thread along the fabric and then bunching the fabric up along the thread to create a ruffle a frill or the top of a puffed sleeve or gathered skirt at a waistband

Grain / Grain line :
The true grain runs parallel to the selvedge, and is visible in a woven fabric by looking closely at the threads  - the warp threads denote the true grain. Pattern pieces are generally laid along the grain line, and this direction is shown on them by a double headed arrow

The cross grain can also be used in place of the true grain on some stable woven fabrics - this is found at 90 degrees to the selvedge and can be spotting by following the weft threads from side to side of the woven cloth.

Because some cloth is woven slightly wonky - it is always best as a beginner to focus on the true grain only to ensure your makes hang well and are as easy as possible to sew.

H

Hand finishing:
Finishing the last details of your garment or sewing project by hand, as opposed to using a sewing machine.

Hand wheel (also known as balance wheel):
Use the hand wheel on the edge of your sewing machine to adjust the height of your needle.

Hem:
The edge of the garment or fabric project that is folded over and sown under in order to keep the raw edges from fraying and unravelling.

I

Interfacing: 
Interfacing is used to stabilise areas of a garment such as necklines, facings and zip insertions. It is a material used as a secondary  layer of fabric in order and adds more stability and thickness to a garment. It can be stitched in, or ironed on ( fusible )

L

Ladder stitch:
A hand stitch used to close a seam invisibly.  Use commonly to close gaps after you have pulled an item through to the right side.

Layout or lay:
The optimal layout refers to laying the patterns on your fabric in a way that ensures you do not create too much waste fabric, remain on grain, and ensure that the decorative pattern or nap of your fabric is in the same direction on all of your cut pieces.

Lining:
An inner layer of fabric underneath a top layer, often used in garment making to reduce friction ( to make things hang better ) and to hide all the inner workings of the make.

M

Motif:
A dominant design element, usually ironed, embroidered or stitched on.

N

Nap:
This term is used when dealing with fabrics that have a pile, such as velvet and corduroy. It’s important to cut these fabrics with the pile running in the same directions as the fabric’s hue changes depending on the way it is rubbed.

Notches:
Small indents, usually diamonds or triangles, that are printed on the cutting line of a pattern, on the seam allowance. This indicates where the seams should meet, or another pattern piece should fit.

Notions:
All the other items that you use while creating sewing projects - things along the lines of buttons, hooks, and elastic.

O

Overlocker:
A specialised sewing machine that trims and neatens the edge of fabrics.

P

Pattern weight:
A weight that’s used to keep paper patterns in place, rather than using pins. Commonly used in combination with a rotary cutter and cutting mat

Piping:
A decorative finish where a piece of cord is encased in a piece of bias binding and stitched into a seam so that on the wrapped cord is visible.  Usually used on homesown items such as cushions, and also on garments. 

Pivot: 
To leave the needle in the fabric, raise the presser foot, and turn the fabric at a 45-degree angle. Then lower the presser foot and start sewing. Used to sew square seams.

Pleats:
Pleats are folds in fabric that add to fullness, and reduce a long width of fabric into a shorted length to attach to a waistband or sleeve head for example. There are different varieties of pleats, and these depend on the style and fitting of the garment you’re making.

Presser foot:
Holds the fabric in place as you sew with your sewing machine.

R

Raw edge:
The unfinished edge of fabric, after cutting before you have overlocked, or hemmed.

Right side: 
The right side of the fabric is usually the design side. There are instances of fabric with no right or wrong side visible, or you may choose to use the reverse of your fabric to face out on your garment and so the determination and appropriate markings are then made by the person doing the pattern cutting and sewing.

Rotary cutter: 
A tool used for cutting fabric quickly and easily. It can cut through several layers of fabric at once. It is a circular wheel / blade attached to handle which you roll along your fabric to slice through - you will always need a cutting mat to prevent damage to your table! 

S

Seam allowance:
The amount of fabric which is between the edge and the seam. In older patterns this is ⅝ of an inch.  More modern patterns tend to leave 1cm unless extra is required for fitting or french seams.

Seam: 
Where two pieces of fabric have been sown together.

Seam Ripper:
A tool used to rip seams from the fabric and undo stitches previously made. 

Selvedge: 
The finished edge on either side of your cut cloth

Spool pin:
Keeps the spool of thread in place so the thread can be fed through your sewing machine.

Stay Stitch:
Sewing a line of straight stitch along the curved areas of a cut pattern piece before assembling into a seam, in order to stabilise and prevent distortion.

Stitch Length: 
The length of your machined stitches. In general, regular sewing is made with stitches that are about 3-4 mm and basting/gathering/bunching/sleeve easing stitches are about 5mm. 

Stitch Width: 
The width of your machined stitches. A regular straight stitch has no stitch width because the needle is in a stationary position and does not move from side to side.  

When you make a zig-zag stitch, the needle moves left to right as well as up and down, and the width is the distance in mm of needle drops left to right.  A good zig-zag stitch for stretch top stitching is 2.5mm length and 2.5mm width.

Straight Stitch:
The stitch setting on your machine that looks like a straight line.  The needle creates this by puncturing the fabric up and down on the same spot as the fabric is pushed through the machine by the feed dogs.

T

Thread cutter:
A sharp tool on the edge of your sewing machine for cutting excess thread.

W

Wadding:
Material, such as cotton or wool, that is used for filling items. 

Warp:
The threads that travel along the width of your fabric from selvedge to selvedge

Weft:
The threads that travel along the length of your fabric, running parallel with the selvedge

Wrong side: 
The opposite side of the fabric to the side you have chosen to face out

Z

Zig-zag Stitch:
The stitch setting on your machine that looks like a zig-zag line.  The needle creates this by puncturing the fabric up as well as moving from left to right as the fabric is pushed through the machine by the feed dogs.

Zipper:
A zip is constructed from two tapes, usually attached at the bottom, each with a row of tiny ‘teeth’ that interlock when the tapes are pulled through a ‘pull’ 

Invisible zips are designed so that the seam covers up the teeth mechanism and the zipper can be concealed.

Open-ended zips still have the 2 parallel rows of teeth, however the ends are not joined. Instead they meet in a small box and pin mechanism, allowing you to separate two parts entirely  - this is often found in jackets and coats.

And... don't forget if you have any questions at all - just pop into my FREE Facebook group Stich Sewcial  for tips tricks advice and an incredible and lovely community to support you! 
0 Comments

Essential sewing Supplies for beginners

6/5/2021

0 Comments

 
So you want to start sewing - amazing news, welcome to a wonderful world of creativity and expressionism! There are only a few supplies you need in order to get started, and those supplies will see you through 99% of all projects you’re likely to start off with as a beginner sewist. 

After you acquire the sewing supplies for beginners listed below, you’re ready to begin your journey. Once you’ve become familiar with your sewing supplies and equipment, the world truly is your oyster. Free beginner projects, such as our Start To Stitch Bunting, Start To Stitch Free Twist Headband, or the ever practical Start To Stitch free Face Covering pattern are all great for sewists who are just starting out and wanting to create something practical and pretty.

As your confidence grows and your love for sewing blossoms, you may wish to take your sewing to the next step. Here at Start To Stitch, we are proud to offer excellent valued courses for Beginners and Intermediate sewists. In each course, you’ll learn new techniques and troubleshoot common issues, as well as create wonderful handmade items. Both courses are held through a dedicated Facebook Group, with detailed video tutorials. Live video support and weekly tutoring calls are also included as part of the course, meaning that support and encouragement is always only a click away. Head to our Online Courses page for more information.

Sewing Supplies For Beginners

If you’ve landed on this page, you’re likely here for one reason, and one reason only: to find out exactly what tools and equipment you need in order to start sewing. Below is a list of the basic, yet essential, sewing supplies you’ll need as a beginner. There are obviously many more sewing tools that can be added to your collection as your confidence grows, however the list below will enable you to get started as soon as possible. So if you want to know what sewing supplies you should be looking out for as a total beginner, keep reading!

SEWING MACHINE

A sewing machine is an absolute must have if you want to start sewing! Sewing machines enable you to create amazing handmade items and garments with excellent precision, durability, and professionalism. Your sewing machine will be a great investment, so make sure to do your research before purchasing. We’ve written a comprehensive guide to buying the right sewing machine for you - read it here: 6 Things To Look For When Buying A New Sewing Machine.
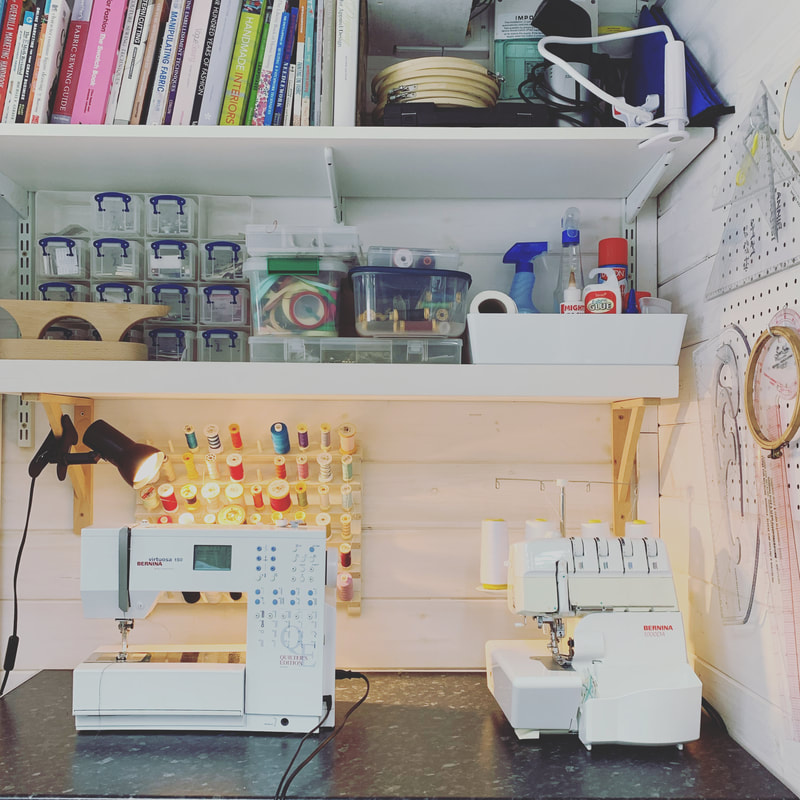
Picture

Needles

You’re going to need needles for your sewing machine. Picking up some spare needles is a great idea as sometimes needles do break, and you should change your needle after every project  - if this happens to you, here’s a great YouTube video tutorial on How To Change A Needle On Your Sewing Machine. You may also want to purchase some needles for hand stitching as well. 

Bobbins

Bobbins pass the bottom thread up in your sewing machine. These need to be wound up and inserted properly into the machine. Here’s a video tutorial on How To Wind A Bobbin On Your Sewing Machine. Bobbins are cheap to buy and come in a variety of materials, including clear plastic and metal.  Check what type your machine uses - some brands use a different design.

Good Quality Thread

Thread is what’s going to hold your hairbands, garments, cushion covers, or even your mug warmers together, so it’s important to get a good quality collection of thread in a variety of colours. Gutermann is the best quality - a strong polyester thread that won’t snap or break.  Moon is a good alternative but some machines don’t respond to it well.
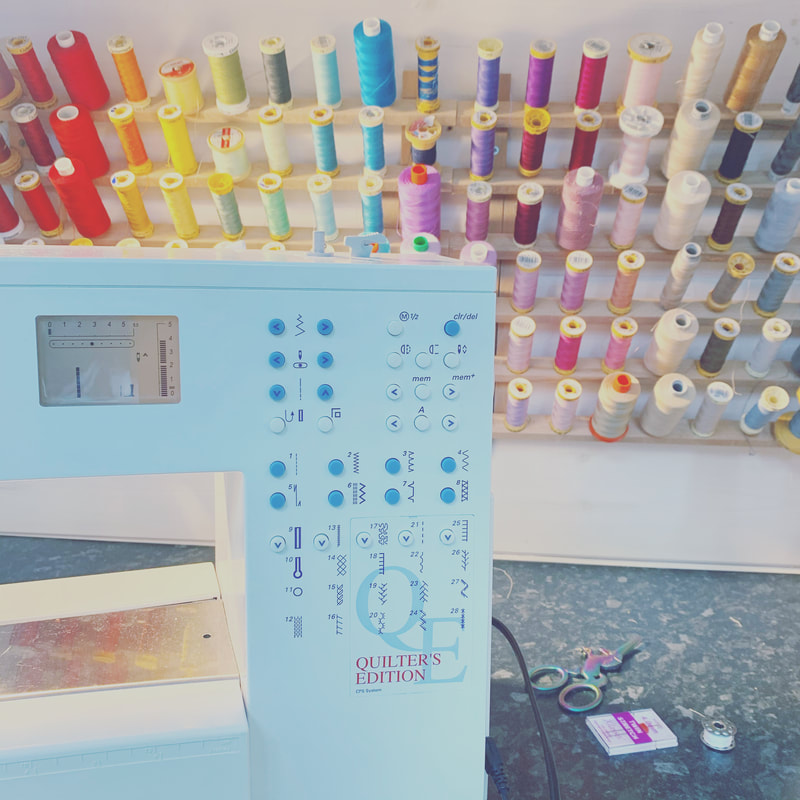
Picture

Scissors

Fabric scissors are sharp! In order to cut through a variety of fabrics, they’re much sharper than your everyday scissors. It’s a good idea to have both ordinary scissors on hand for cutting templates out, and also fabric scissors for your fabrics. Keep in mind that using your fabric scissors on anything but fabric will dull them very easily and quickly.
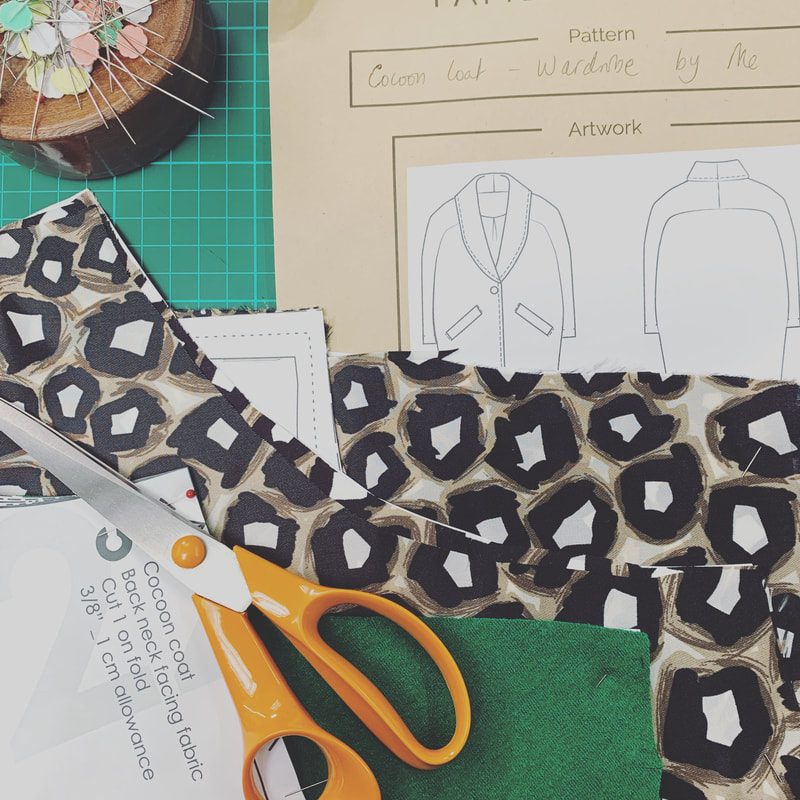
Picture

Marking Tools

A marking tool is always handy for marking out patterns onto your fabric. There’s lots of choice, so it’s whatever tool you feel most comfortable using. Some sewists use good old fashioned chalk, some use heat erase marking pens, and some use disappearing ink that vanishes after washing the fabric.

Pins

Pins are a sewist's best friend! Do you have two pieces of fabric that need to be sewn together? Use pins to hold them in place. Need to trace or cut around a pattern? Secure the pattern to your fabric by using pins. There are so many uses for pins and, again, there’s a variety of choice.
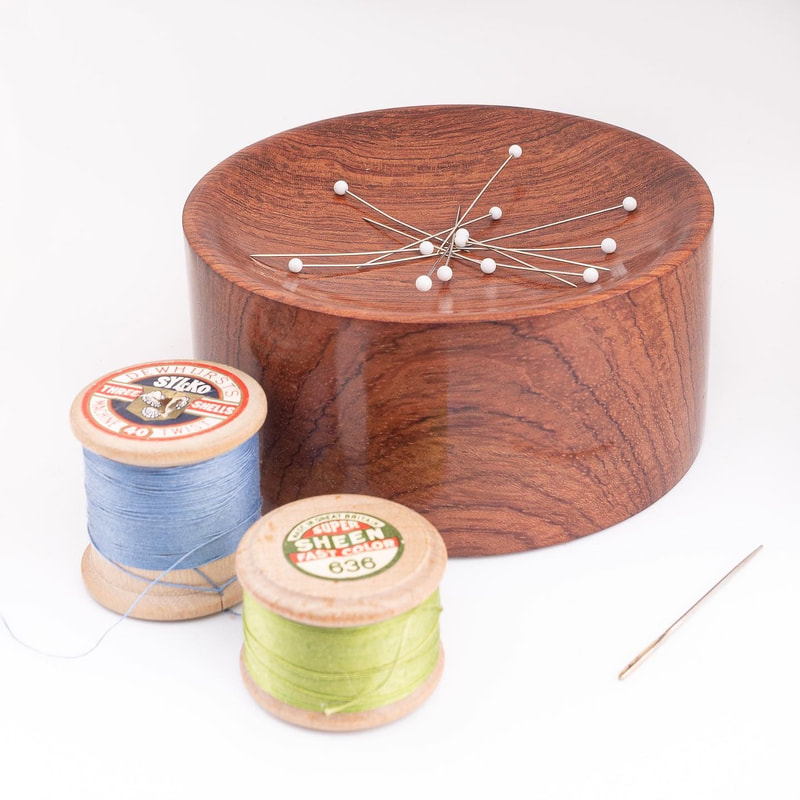
Picture

Tape Measure

A pretty self explanatory tool - used for measuring your fabrics. They’re nice and flexible, easy to store, and cheap to buy. re
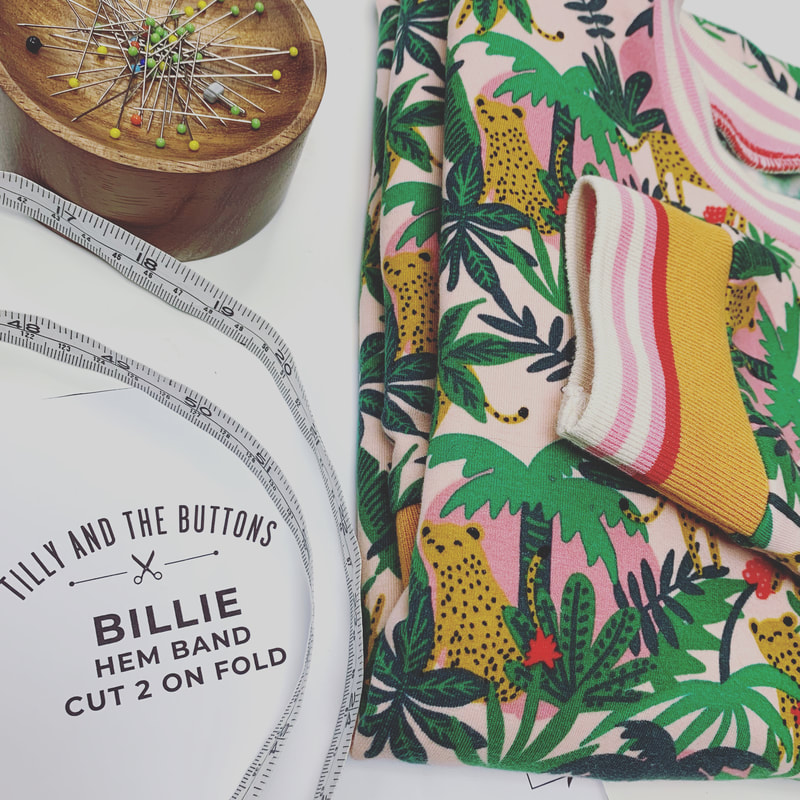
Picture

​Clear Rulers

Clear rulers are a definite must have for any beginner sewist. Clear rulers allow you to see exactly what you’re doing, where you’re marking and what you’ll eventually end up cutting and sewing. If you can get one with a metal edge you can use it with your rotary cutter too!

Cutting Mat

Save your desk for being destroyed when cutting fabrics with either scissors or a cutting tool by investing in a good cutting mat. Some cutting mats are self healing, which is a huge bonus. They come with measurements up the sides, and basically just make your life when sewing so much easier. ​
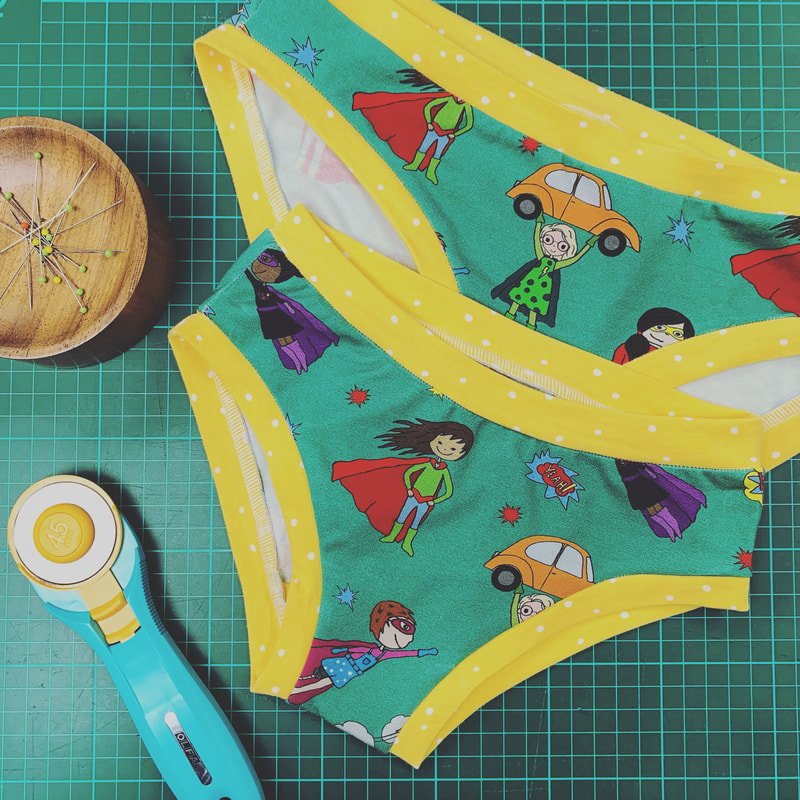
Picture

Seam Ripper

It’s not just beginners who need a good seam ripper, even the most experienced garment makers make mistakes. Not only can the seam ripper be used to rip out stitches that were sown by mistake, but it can also be used to open up button holes, cut threads and remove stitches. In our Start To Stitch store we sell beautiful handmade seam rippers made from reclaimed, sustainably sourced wood.

Iron & Ironing Board

It’s essential to iron your fabric and get all those wrinkles out before you get to work. Wrinkles will affect the shape of your fabric, so make sure it’s lovely and smooth before you start cutting and sewing.  You should press every seam as you stitch it too - it will level up your making game! 

Fabric

Obviously you’ll need a selection of fabrics to start off with! A lot of beginner sewists tend to use old garments or old bedding sets that are no longer needed. It’s great to create new items of clothing from upcycled fabric, however if that’s not possible, there are plenty of stores and online shops that stock gorgeous fabrics. ​
Picture
If you have any questions don't forget you can hop on over into my free sewing group Stitch Sewcial and ask away! Its a hot line to me and many other very experienced sewists and is a wonderful community to be a part of! 
0 Comments

Beginners Sewing Course - NOW ONLINE!

5/10/2020

1 Comment

 
I'm so thrilled that my sell out beginners sewing course is now online - It has been 6 months in the planning and recording - with 66 video tutorials and all the hand outs to accompany it - but its finally here!
Picture
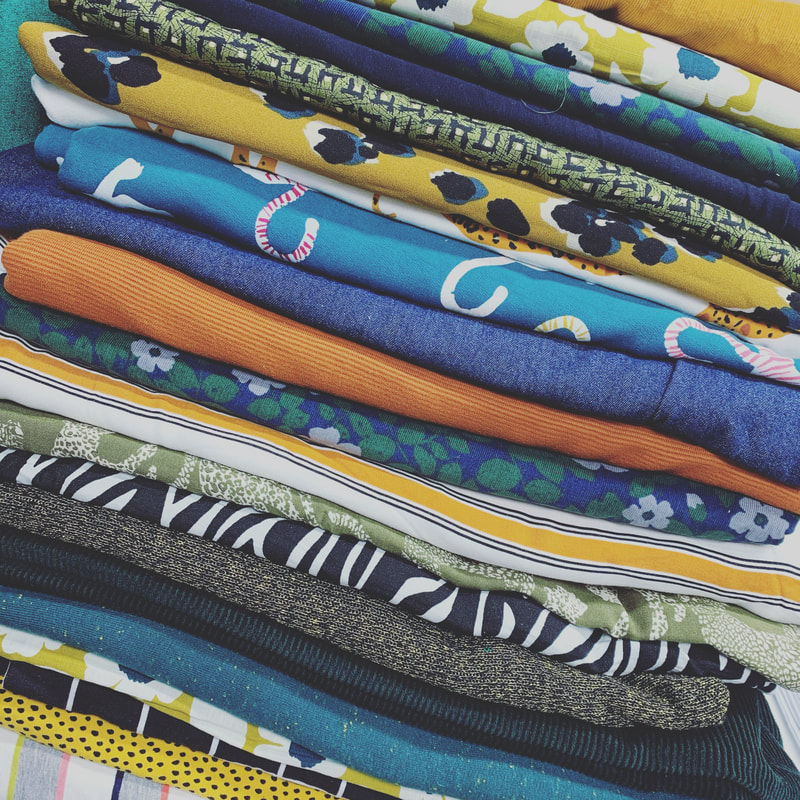
This is a comprehensive course to learn your how to master your sewing machine from the ground up - written and revised over 6 years of teaching beginners face to face.  During times of face to face teaching these courses are usually sold out months in advance but now with the power of online I can open them up to (slightly) more people and run them more frequently! 
I never thought that in 48 hours I’d go from awkwardly trying to operate a sewing machine to feeling confident enough to want to try some simple dress making.
Book me on!
Back to Basics is  beginners and refreshers sewing class covering all your machine basics, how to thread, sew, troubleshoot tension, change a needle, adjust stitch length / width.  You will make 5 completed projects over the course and it will set you up for solo sewing! Work the comfort of your own home on your own machine so you can really get to know it. Detailed instructions, handouts and clear video tutorials.

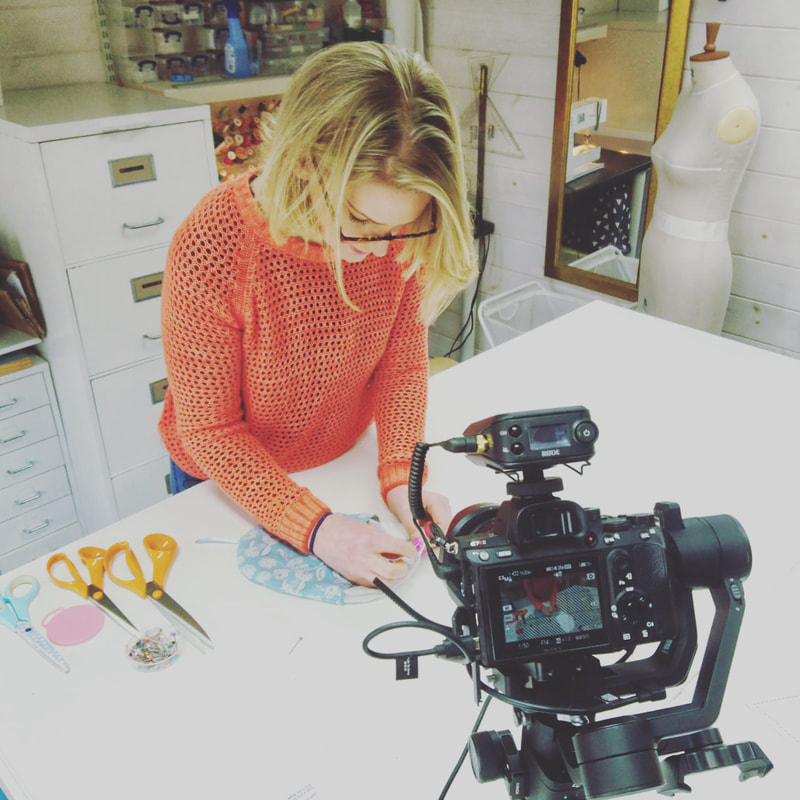
I run this course in a closed Facebook group, with both recorded videos and regular weekly zoom calls for anyone who is struggling to understand a particular aspect of the teaching that week.

This brand new online class begins on 29th October for 5 weeks. Each week we will have a live (optional) zoom call to check in and share progress, and then I will upload the course material for the following weeks.

Each session introduces a series of skills for that week, which are consolidated into a weekly project - each of them practical, gift-able and useful! 

  • Week 1: Get to know your machine - threading, tension and more, sewing in a straight line - make a pincushion
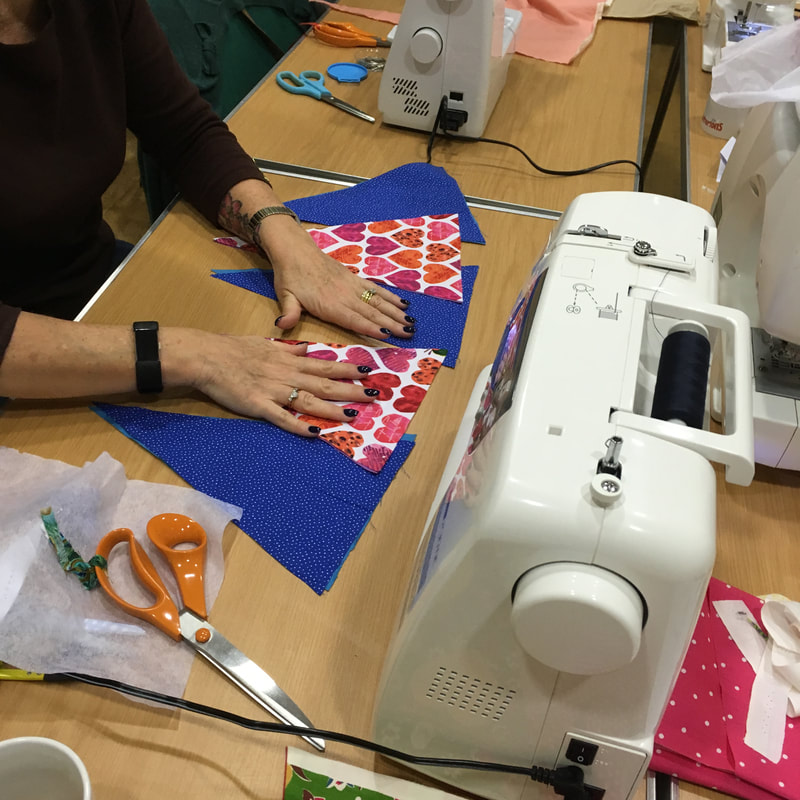
  • Week 2: Sewing curves - make a padded heart decoration
  • Week 3: Seaming and edging techniques - make a french seamed cushion cover
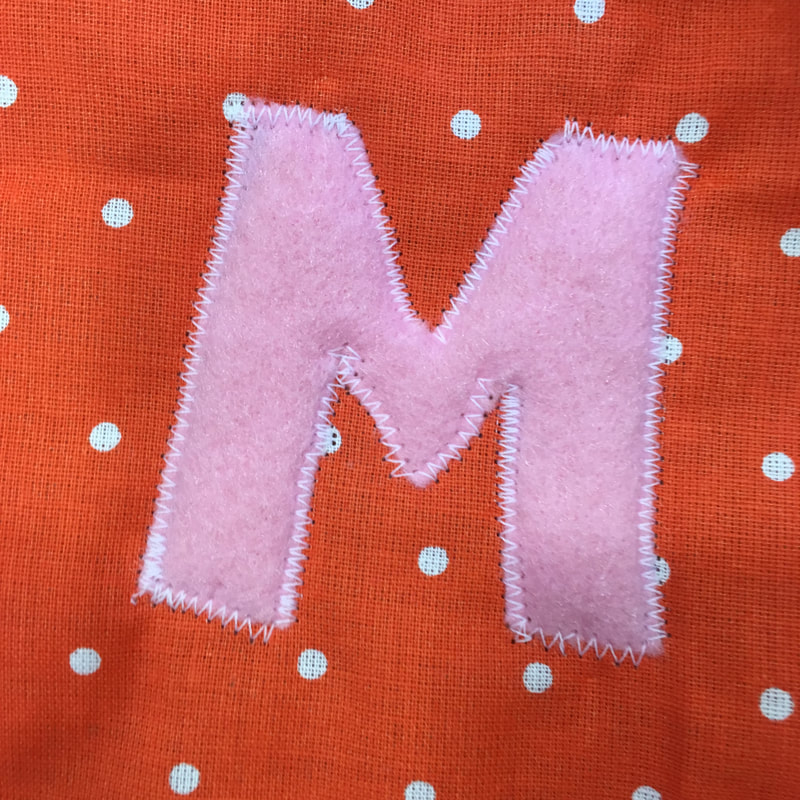
  • Week 4: Applique and bias binding - make your own bunting
  • Week 5: Inserting a lining into a 3D Object - make a mug cosy

I will teach this course a maximum of 6 times a year - and after this launch the next opportunity won't be until 2020 - so if you've ever want to master your machine, bite the bullet and join us today! Next year the price will go up too - so grab it at the discounted rate while you can :)

A comprehensive foundational sewing course, 65 video lessons, one year access and live support as you go for £85 - what's not to love!? You can book yourself on here

Here are some of the things that past students have made as a result of being on this course:
Come and join us!  It will be so much fun :)
Yes Please!
1 Comment

    Author

    ​Sewing. pattern cutting, teaching, tea and Jelly Babies!

    Categories

    All
    2020 Challenge
    Beginner Sewing Projects
    Beginners Sewing
    Body Dysmorphia
    Bunting
    Burn Test
    Chambray
    Christmas Stocking
    Classes
    Cloth Face Covering
    Cocoon Dress
    Cornwall Scrubs
    Courses
    Covid 19
    Cutting
    Declutter
    Equipment
    Free Pattern
    Free Patterns
    GBSB Season 8
    General
    #getsetsew
    Gifts
    Gifts For Men
    Glossary
    Great British Sewing Bee
    Guthrie Ghani
    Handmade Wardrobe
    Kernow Sewcial
    Kids Dress Up Cape
    Learn
    Learning To Sew
    Machine Maintenance
    Mental Health
    My Fabrics
    My Me Made Wardrobe
    Nadia Arbach
    Needles
    Online Courses
    Organisation
    Pattern Review
    Pdf Patterns
    Peg Bag
    Peplum Top
    Peppermint Magazine
    Personal
    Presser Feet
    Ready To Wear
    Sapporo Coat
    Scrap Busting
    Seasalt
    Sewing 101
    Sewing For Men
    Sew Slow
    Simple Sew
    Slow Fashion
    Supplies
    Sustainable Textiles
    Tutorials
    Twist Headband
    Video Tutorial
    Zadie Jumpsuit

    RSS Feed

    Archives

    January 2023
    December 2022
    November 2022
    September 2022
    August 2022
    July 2022
    June 2022
    May 2022
    April 2022
    March 2022
    February 2022
    January 2022
    November 2021
    October 2021
    September 2021
    July 2021
    June 2021
    May 2021
    March 2021
    November 2020
    October 2020
    September 2020
    August 2020
    July 2020
    June 2020
    May 2020
    April 2020
    February 2020
    October 2019

Start to Stitch - Sewing classes courses and workshops in Cornwall and online
Terms & Conditions   |   Privacy Policy  |   Payment Delivery & Returns 
Copyright 2021   |   Annie Lucas   |   Start to Stitch   |   All rights reserved
Proudly powered by Weebly
  • Home
  • About
    • Contact
  • Shop
    • Patternweights
    • Embroidery Kits
    • Tools & Equipment
    • Sewing Gifts
    • Sewing Patterns
    • Course Kit Store
    • Live Workshops
    • Gift Cards
  • Blog
  • Online Courses
    • Student testimonials
    • Student Log In