
|
Have you found yourself wondering if creating your own clothing is worthwhile? Sure, it takes up time, and yes, it is a skill that requires practice, but I am here to tell you that it is 100% worth your time and effort! Besides the fact that you can make clothing to your exact specifications and tailor anything to suit your style and needs, there are tonnes of reasons why you should learn to make your own clothing.
In this post, I’ve put together 5 of the most prominent reasons as to why I believe making your own garments is the way forward, no matter what your experience level is. Sustainability: The term ‘fast fashion’ gets thrown around quite a lot in the sewing community. The term refers to the replication of popular fashion trends and mass producing them at a low cost. These garments are then distributed at low prices to huge conglomerates that turn a high-profit. Cheap clothing sounds fine, at first, until you take a closer look at the environmental impacts. Did you know:
The only way to challenge the fast fashion industry is to become more mindful about our wardrobes and think carefully about the type of fabrics we’re using. Repurposing spare fabric and fabric scraps is one way to do your part in fighting the environmental impact of fast fashion, another is to start producing your own clothing. Perfectly fitting clothes, every time. I see social media posts about the variation in UK sizing all the time! You’ve probably seen them too - how a pair of size 12 jeans from one brand happens to be about an inch smaller than the same sized jeans bought from a different clothing brand. How crazy is that? Not only does that feed into the landfill disaster of unworn clothing being thrown away, but it also causes havoc with our self esteem. These tremendous inconsistencies and the emotional impact that comes with them, can be completely avoided when you choose to make your own clothing. Learning how to measure yourself for clothing is easy, and once you’ve got the hang of it, you’ll always have perfectly fitting clothes to suit your style and needs. Boost your confidence, self esteem & your overall mental wellbeing. Mastering a new skill is one of the most widely suggested ways to boost your self esteem. Learning how to create something new, or or improving a skill you previously struggled with gives you an overwhelming feeling of achievement and satisfaction. This in turn boosts your confidence and self esteem, as well as giving your whole mental state. 2020 was one heck of a year for many, however my trusty sewing machine, along with the Stitch Sewcial Facebook group, and Cornwall Scrubs kept me sane. Quilting and garment making is an act of self care for many, and I have personally spoken out about my mental health and the role that sewing has had in my own mental health progression. Save yourself some money. We spoke about how fast fashion mass produces popular fashion trends at a low price earlier, and I think many people fall into the trap that because the garments are cheap, they’re saving money. In actual fact, these clothes are often made to be disposed of; they’re made cheaply and aren’t built to last for more than a season or two. Many items break or become unwearable so quickly that the low costing items soon add up that you’ve spent more money on fashion items than you’d originally planned to over the course of a year. Sewing your own garments can save you money in the long run because you will be making your clothing with longevity in mind. By using good quality fabric and thread, you can easily make simple garments, even if you’re a total beginner. All it takes is a bit of practice and patience. If you want to brush up on your sewing skills, our Beginners Online Course is great for going back to the basics, or learning everything you need to get started. We also offer an Intermediate Online Course which serves as the perfect introduction to garment making. You are your own designer and creator. By sewing your own clothing, you are effectively running your own factory. Sourcing your fabric well can bring employment and income to your local areas if you purchase your fabrics and supplies from small local businesses. By working on your own garments, you’re cutting the chemical usage that pollutes our planet with toxins, and, absolutely brilliantly, you’re cutting out the use of child labour.
0 Comments
As you may already know, here at Start To Stitch, we’re into sustainability and protecting our beautiful Cornish countryside; as well as trying to globally fight for a more eco-conscious clothing and textiles industry. My personal mantra is: thou shalt not buy anything that can be made thyself. I work on the principle that since I have a big stash of fabrics, there are a lot of things that I can make for myself, instead of having to buy them. When I get to the end of my stash, I try to buy more fabrics mindfully, thinking about where they’re coming from and how they’re made. I am in no way preaching about avoiding shops - if you want to head to the shops and buy yourself some new wardrobe staples, go for it. However, I have to say there is something incredibly satisfying about creating your own clothing. That’s why I teach my beginner and intermediate online sewing course; I want to give people the skills and knowledge necessary to help them create garments and items that they can be proud of, as well as helping to slow the speed of the fast fashion industry, while also helping you feel better about the beautiful body that you have been given!! Sew your own wardrobe. So many items in my wardrobe have been lovingly sewn by me. Very recently myself, and members of our Stitch Sewcial Facebook group joined in with the wonderfully organised #TheSewingWeekender2021 event, hosted by The Fold Line. The event entailed a blissful weekend of sewing and chatting with lovely, lovely people, however, as a result, my studio is now full of scraps of fabric that are just crying out to be turned into something practical and beautiful! Create something brand new out of your leftover fabric. If, like me, you find that your scrap fabric box is often overflowing, this is definitely the blog post for you. Often we’re left with pieces of fabric that are too small to create new garments for ourselves out of, but that doesn’t mean they’re totally useless. With a little imagination and some clever stitching, it’s possible to turn your scraps into something beautiful and practical that can be used in and around your home. Practical items to make from scrap fabric: Below is a collection of sewing projects that can be created using scraps of fabric. In honour of remaining sustainable, we’ve kept the list as practical as possible - there’s no point creating something with leftover fabric that you’ll never actually use. Our categories include health and beauty items, such as facemasks and scrunchies, items for around the home, children’s items, and sewing related goodies. Of course, there are hundreds, if not thousands, of possibilities when it comes to repurposing fabric scraps, so these are only a few ideas to help get you started. Health & Beauty Reusable makeup remover wipes Twist headbands Reusable panty liners Hand sanitiser keyring holder Makeup bag / travel makeup bag Glasses case Scrunchies Sleep masks Facemasks Around The Home Colourful bunting Oven mitt Tea cosy Pot holders Reusable kitchen towels Coasters Lavender sachets Christmas stockings Camera strap cover Children’s Items Babies bib Child’s sun hat Baby headbands Patchwork quilts Doll/Teddy clothes Sewing Related Needle holder Pin cushion Arty Ideas For Scrap Fabrics There are so many fun ways to use scraps of fabric up. Recently, over on the Stitch Sewcial Facebook group, we had a member who helped her children with their school homework; they ended up creating beautiful collages with scraps of fabrics and the results were absolutely stunning. If you're looking for some free tutorials I have also compiled a Pinterest board for you here! 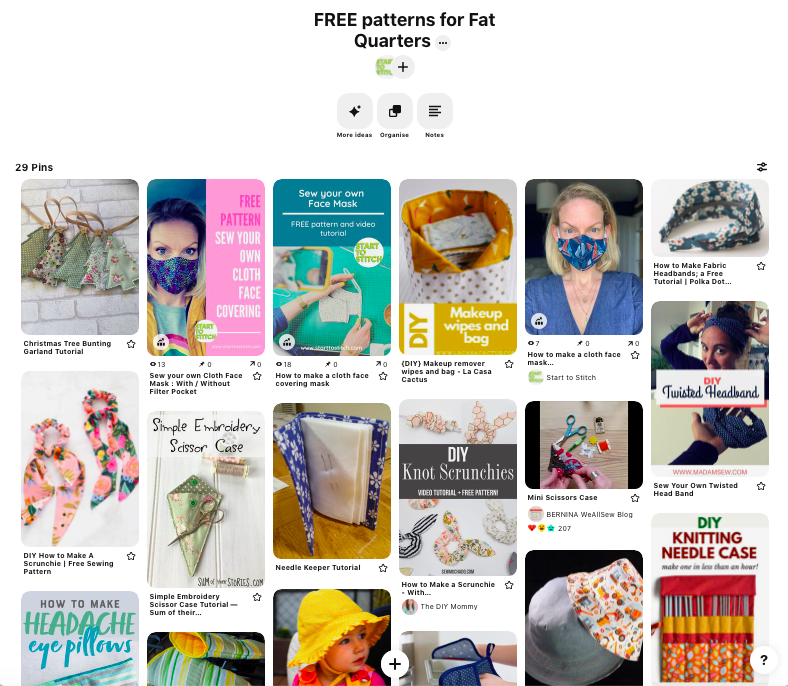 If you fancy having a go at some more fun and practical makes, check out some of the free patterns we offer on our website: Start To Stitch Twist Headband Pattern, the Start To Stitch Face Covering Pattern, and the free Start To Stitch bunting pattern. We also offer beginner and intermediate courses that are hosted online with video tuition. Struggling with your machine? Head over to the Start To Stitch YouTube channel, where we have a variety of video tutorials designed to help you overcome some of the most common sewing machine issues, such as How To Change A Needle On Your Sewing Machine, and How To Wind A Bobbin Up On Your Sewing Machine. The humble scrunchie was a massive fashion trend in 2020, and it seems that they’ve not lost their appeal in 2021 either. Scrunchies are relatively cheap to buy, of course, but why contribute to the fast fashion industry when you can so easily make your own?
Scrunchies are the perfect project for sewing beginners Honestly, sewing your own scrunchies is probably one of the easiest sewing projects around, which makes it an absolutely perfect place for beginners to start. You only need a small amount of fabric - you can even use scrap fabric (link to how to use fabric scraps post) - some elastic, a safety pin, and your trusty sewing machine. Looking for more beginners projects? At Start To Stitch, we want to share our love of sewing with as many people as possible. That’s why we offer FREE sewing patterns that are great for beginners. Once you’ve mastered the scrunchie, how about trying your hand at our Start To Stitch Free Bunting tutorial, our Free Facemask tutorial, or our free Twist Headband Tutorial? Once you’re comfortable with these projects, you might find that you want to take your sewing to the next level. We offer beginner and intermediate online sewing courses. In each course, you’ll learn new techniques and troubleshoot common issues, as well as create wonderful handmade items. Both courses are held through a dedicated Facebook Group, with detailed video tutorials. Live video support and weekly tutoring calls are also included as part of the course, meaning that support and encouragement is always only a click away. Head to our Online Courses page for more information. How To Make Your Own Scrunchies. First things first, gather your materials and tools. To make your own scrunchies, you will need:
How to make scrunchies, a step-by-step guide: Firstly, you need to measure and cut your fabric to 22 inches x 3 1/2 inches. Next, measure your elastic out, you’ll need 9 inches. Fold your fabric in half so that the underside of the fabric is facing you, then pin to hold it in place. On one end, fold the fabric back 1/2 inch and secure with a pin. Stitch the outer edges together with a 1/4 inch seam to create a tube. Pop your safety pin in the edge that you folded over and use it to help you turn the fabric right side out by passing it through the tube and pulling it out at the other end. Press the seam using an iron and then attach your safety pin to the end of your elastic. Use the safety pin to help you thread the elastic through the fabric tube, ensuring that on either side you can still hold the elastic. Scrunch up your fabric and tighten the elastic slightly before tying off with a knot, alternatively you tighten your elastic slightly and then stitch the ends together. If you have chosen to tie a knot, rotate it so that it sits under the fabric. Tuck the raw edge into the folded edge and then stitch down the join and you’re done! Practise makes perfect! If you’re very new to sewing, this project might take around half an hour to complete. Make sure you double check your measurements before cutting and don’t feel disheartened if you go wrong somewhere! Stitches can be removed using a seam ripper, so don’t give up if at first you don’t succeed. Once you’ve mastered the art of making scrunchies, you’ll be able to make them in just a few minutes. Homemade scrunchies are a great way to use up scrap fabrics (scrap fabric link again OR sew slow 2020 fashion post etc) that you may have lying around, they also make great gifts. Let me know how you got on! Sewists of all levels are invited to join my free online community of friendly, helpful people who love to sew. Pop over to our Facebook group, Stitch Sewcial and introduce yourself - I would LOVE to see your take on this tutorial, so please post a picture and let us know how you got on! Stitch Sewcial is also a great place to ask for advice, seek new patterns, and natter away with like-minded people. If this sounds like something you’d benefit from on your sewing journey, please head on over and introduce yourself. After you’ve chosen the right sewing machine for you, you’ll need to start thinking about the type of fabrics you’re planning to use, which will then help you to figure out the type of needle that is best suited for your needs. Your sewing machine will most likely have had an assorted pack of needles included in the box, however, if not, they’re commonly available in craft stores and online sites such as Amazon. Domestic sewing machine needles are standardised, so there’s generally no need to worry about whether or not the brand you’ve chosen will fit your machine. If a needle is made for an industrial machine it will be listed for industrial machines and should be avoided. JOIN MY FREE SEWING COMMUNITY OVER ON FACEBOOK! Stitch Sewcial is a friendly Facebook Group filled with helpful members who are always on hand to support you and offer advice. Feel free to ask any questions, share your projects and celebrate your sewing accomplishments! Sewists of all levels are welcome, so pop over and introduce yourself. To find out more about choosing the correct sewing machine needle for you, keep reading!
|
AuthorSewing. pattern cutting, teaching, tea and Jelly Babies! Categories
All
Archives
December 2023
|
 RSS Feed