
|
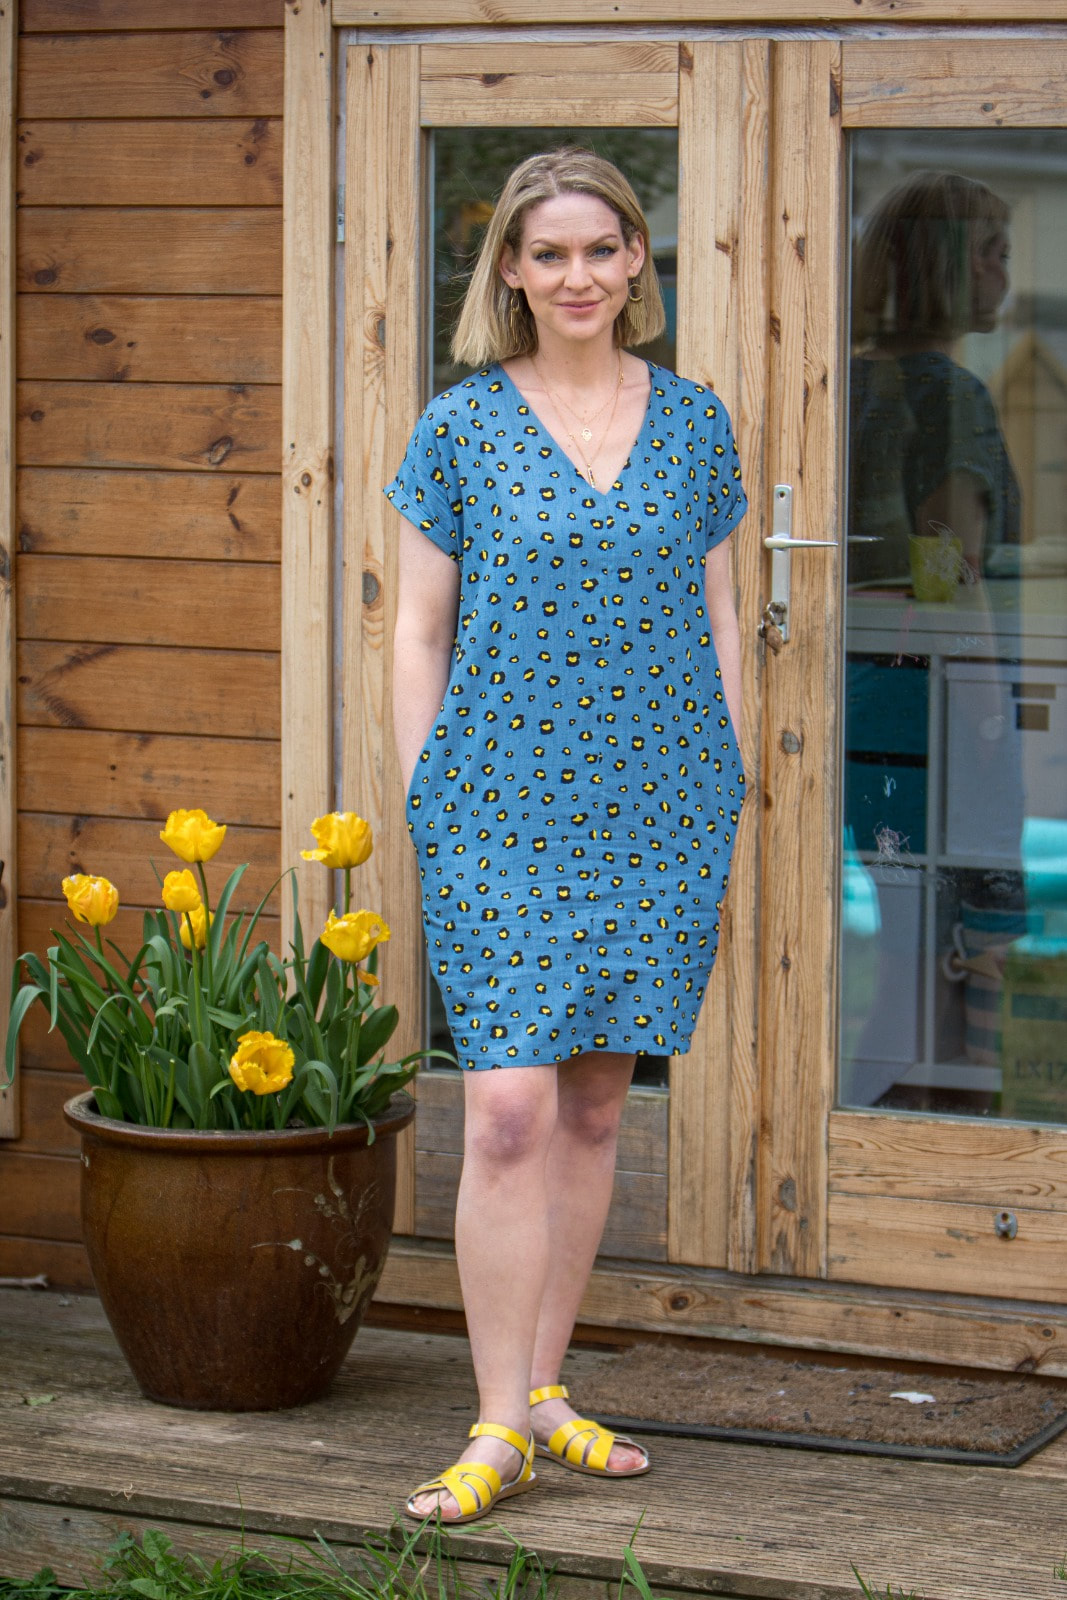
I have been focussing so much on scrubs just lately that my personal sewing has taken a back seat. After a particularly frenetic and challenging week last week I decided to bust out this pattern which has been floating around on my cutting table un-made for the last month along with a length of super bright acid yellow leopard print chambray that I bought from Guthrie Ghani. I discovered this pattern when one of my lovely Stitch Sewcial members shared it early on in the groups beginning not long after lockdown began. I knew it was the right pattern for the fabric and so this dress began to take shape.
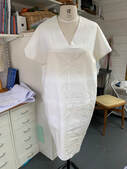
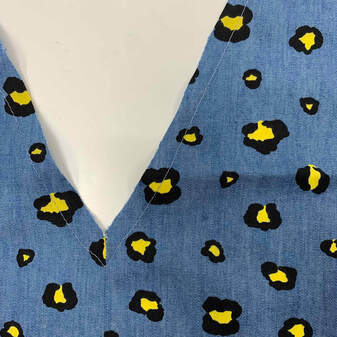
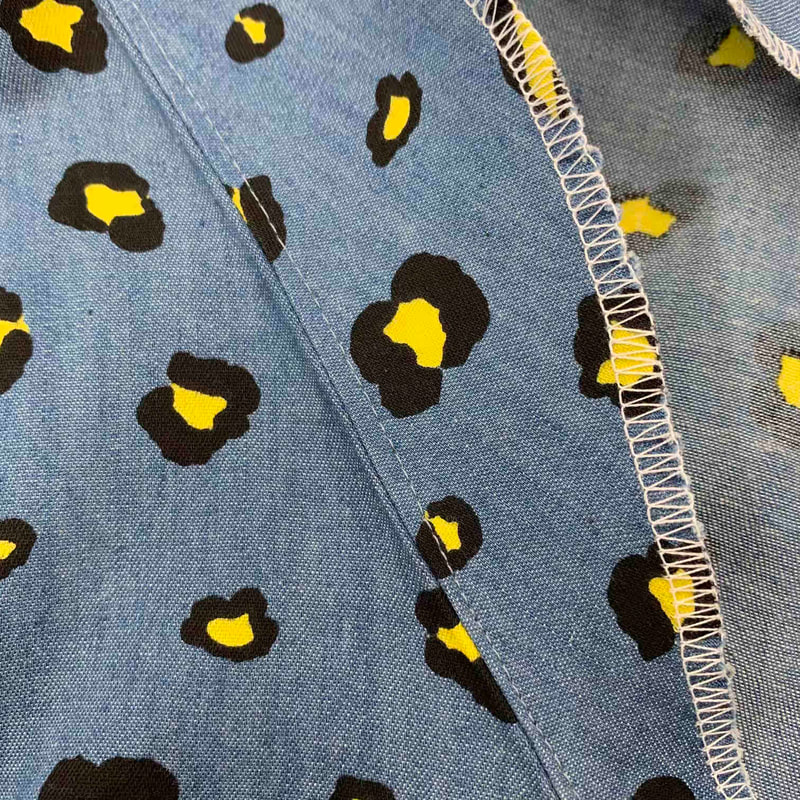
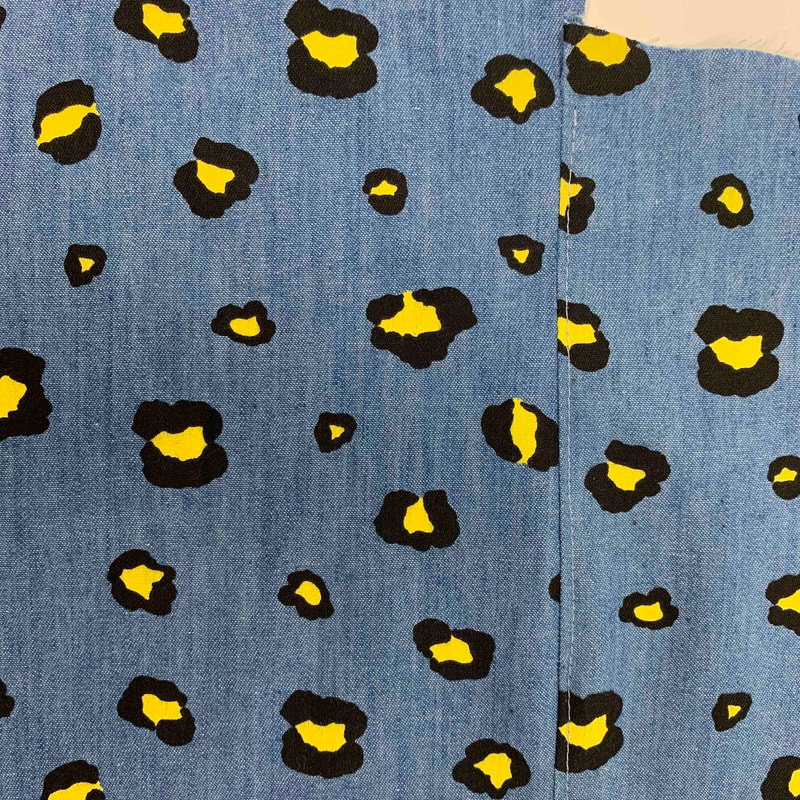
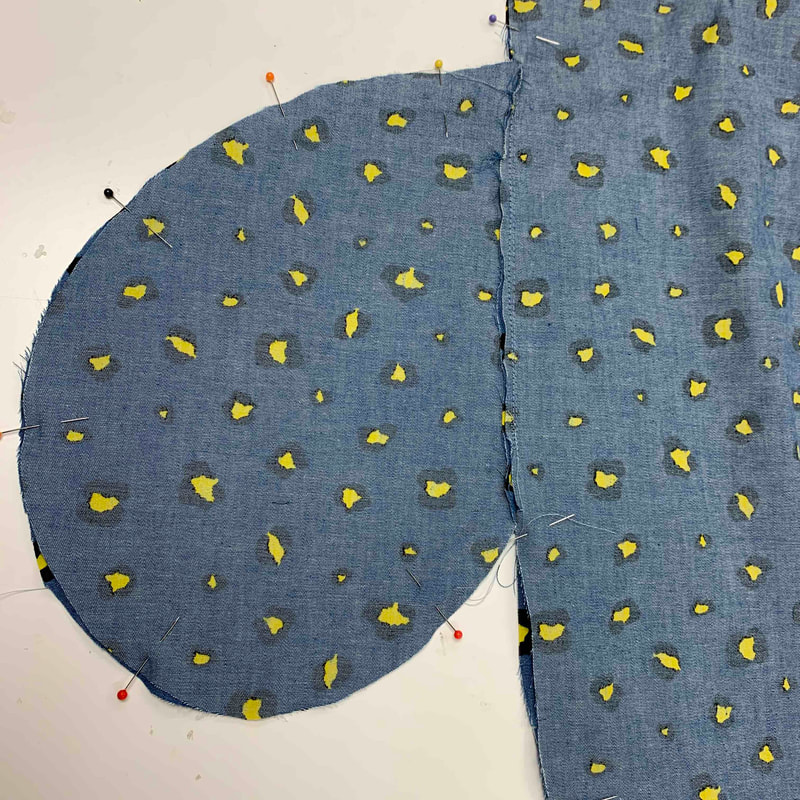
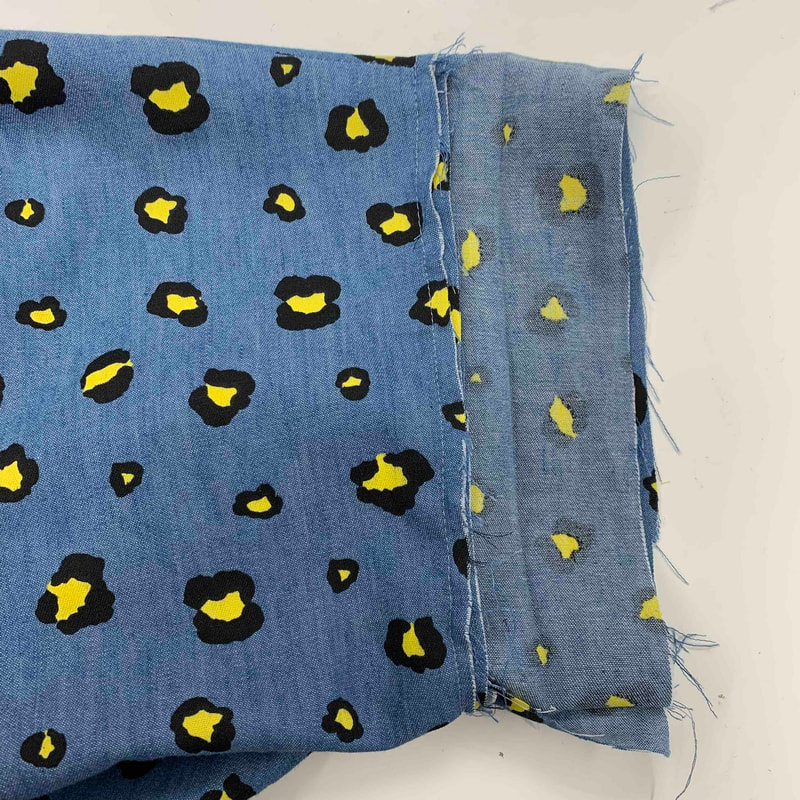
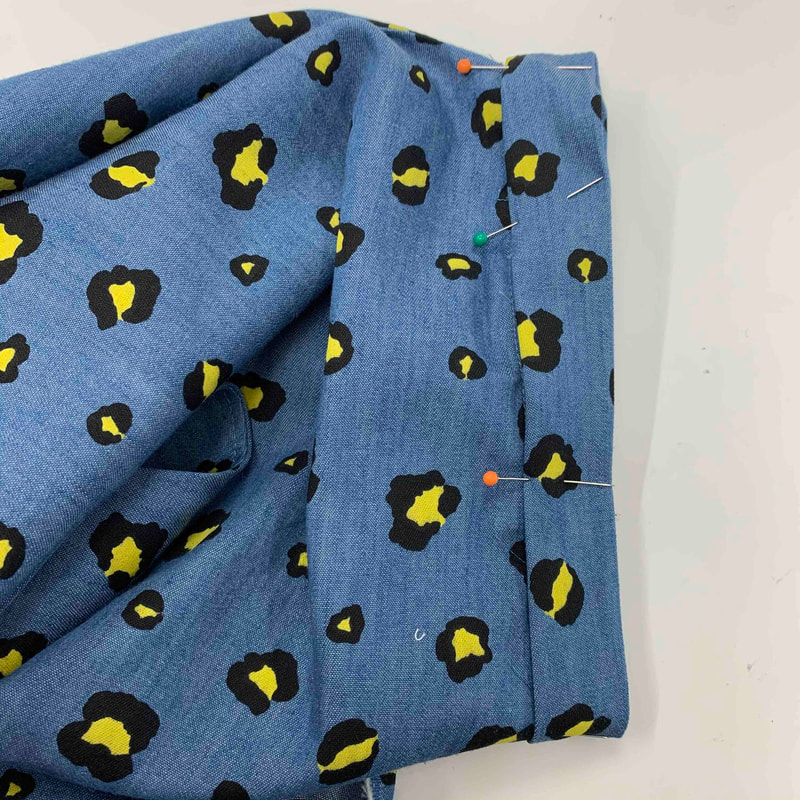
Having stay stitched the neck line the neck facing was pretty easy to attach as you would any facing ( and strangely similar to scrubs actually ), but I couldn't see any mention in the pattern instructions to under stitch the facing. This is where you fold the facing out again and stitch it around the inside of the neckline to the seam allowance beneath which stops it popping up or poking out annoyingly around your neckline once you are wearing your garment. Again this is pretty common practise and I was surprised it wasn't noted. Especially since the pattern is listed as a beginners pattern. I also did a little stitching of the bottom of the facing into the seam allowances down the centre front to hold it in place. I did think about doing away with this seam as it is utterly pointless except as a design feature and I decided that with this fabric the seam could work well to break up the busy-ness of the pattern a bit. I thought I'd flat fell this seam for extra detail but life is very very time short at the moment and I was on borrowed time as it was so just pressed it open. I you do cut your dress on the fold and remove this seam you won't have anywhere to anchor your facing but if you've under stitched that shouldn't matter. I did a quick stitch in the ditch at the shoulder seam too for extra facing security!
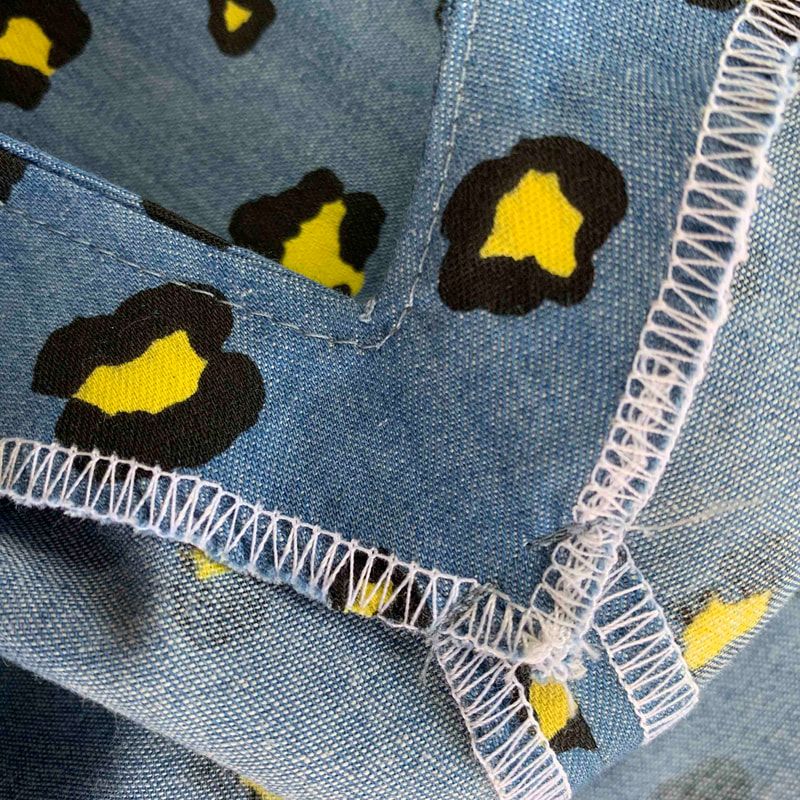
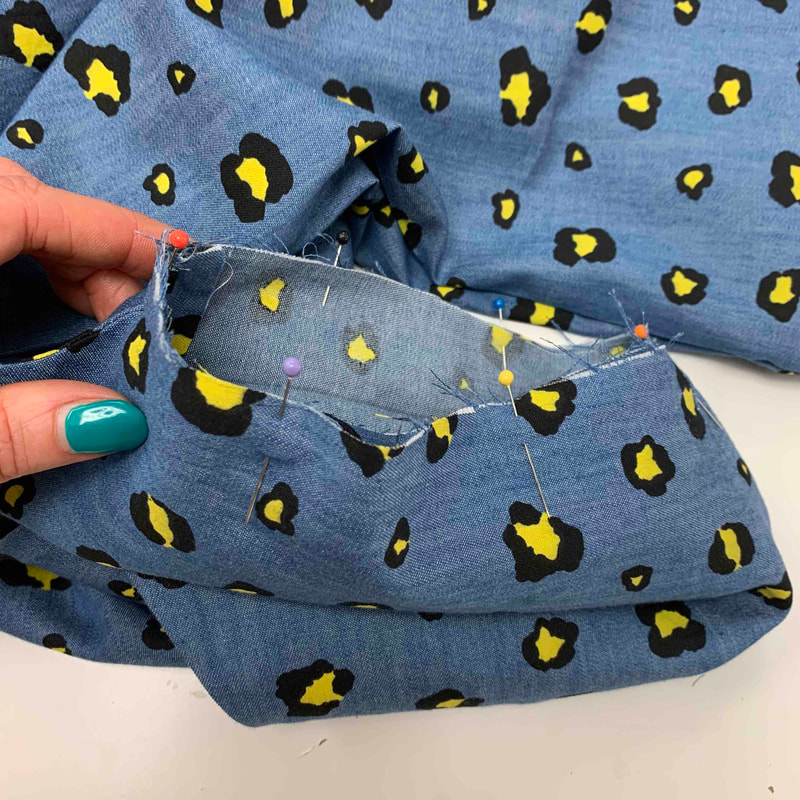
Speaking of under stitching the other place I decided to do that was inside the pocket backs having stitched them in - again I wanted to ensure that they lay nice and flat inside the dress and don't wiggle their way out if I'm wearing it and don't have anything in there to weight them down... I found the instructions very ambiguous when it came to the seam allowance of the pocket bags but I followed my instinct a bit and it seemed to work. Again the pockets are very similar in construction to the scrubs pockets, but the under stitching definitely makes for the smooth finish at the pocket opening and is an extra step well worth doing.
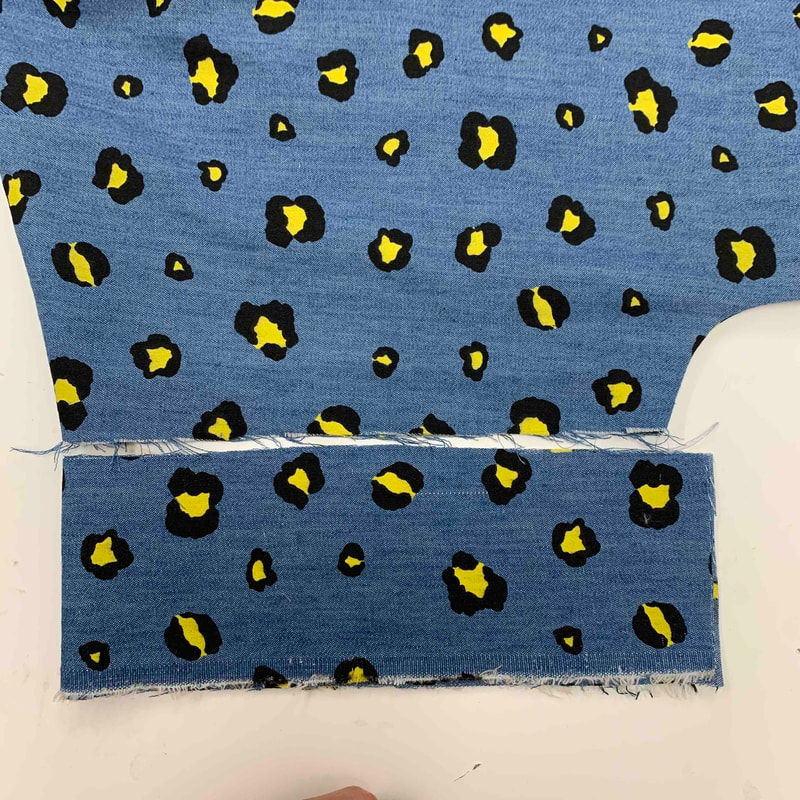
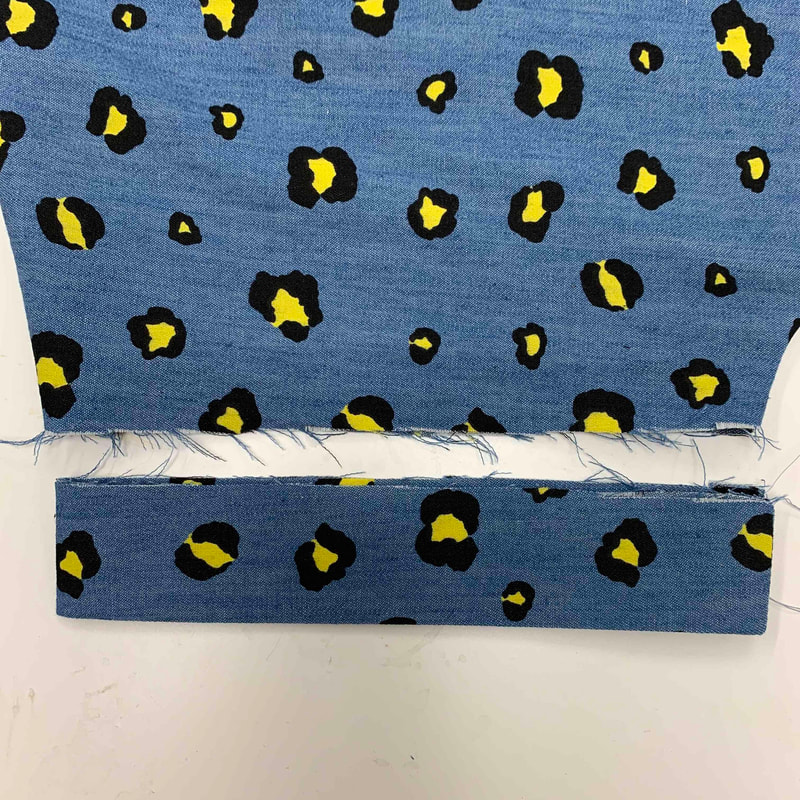
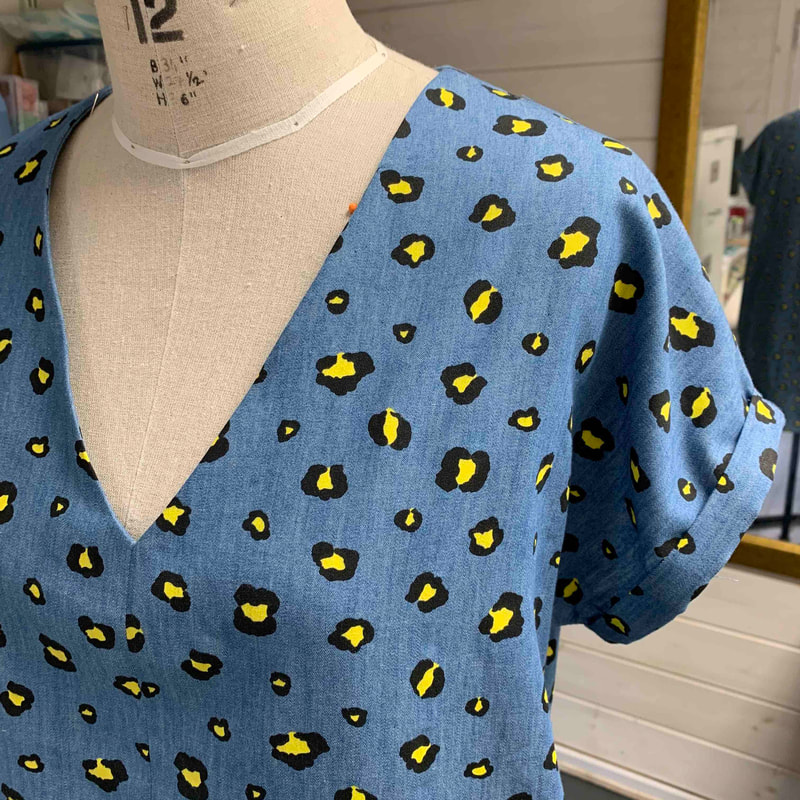
Finally, I added some cuffs to the sleeves to give the whole dress a bit more architecture. I cut a folded strip the length of the arm hole plus one cm ( so the circumference of the arm hole plus 2 cm in total ). Folding it in half width ways and right sides together I stitched down the short edge at a 1cm seam allowance. I pressed the seam open and the folded the strip in half along the length to make a cuff that is the same length as the arm hole, and pressed again.
I put the cuff into the arm hole and pinned so the right side of the cuff faced the wrong side of the dress, and stitched around the opening. I then folded the cuff back in half to encase the raw edges, turned under by a cm and then top stitched very very close to the original seam line. I was then able to turn this cuff up to cover the stitch line and to provide the sharper sleeve edge shape that I had envisioned when I made this dress.
And there you have it! I was expecting it to take me 2 hours, it took me well over 3, but I am really pleased with the finished result... It will be a lovely cool to wear but smart and unusual dress to wear when the weather gets really warm, and if the pubs and bars of Cornwall ever open again, to enjoy a gin and tonic overlooking our local beach on Midsummers day. I have ordered some sweat-shirting to make a version for winter, but I'm in two minds as I'm not sure the style is as flattering on me as I'd like, and sweat-shirting will make it bulkier, but i certainly love this one for summer sun, and have a while before I have to start thinking about winter clothes thank goodness! Have you made this dress? If so how did you find the pattern? 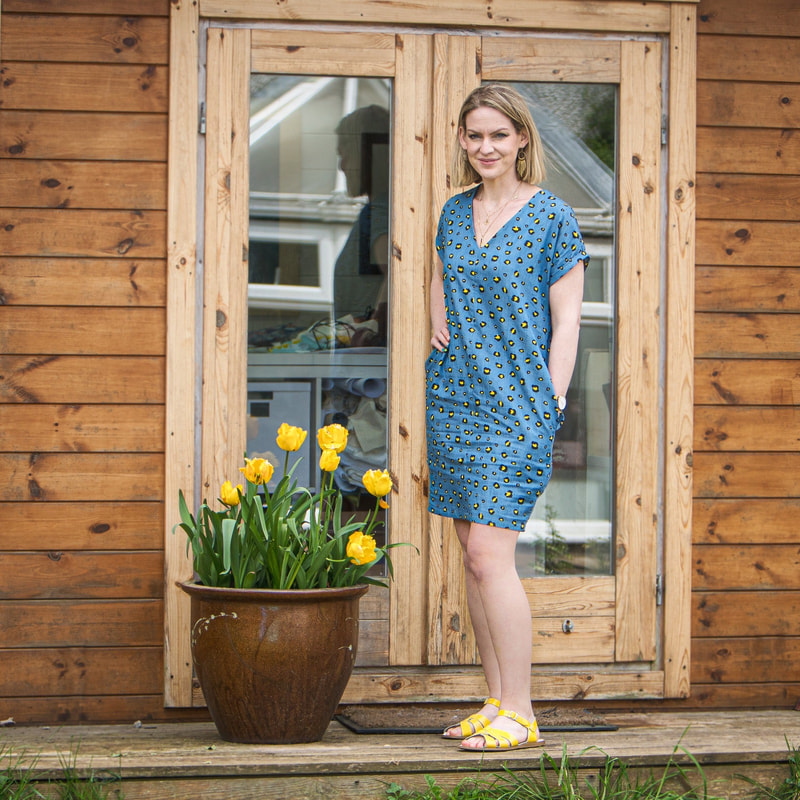
5 Comments
|
AuthorSewing. pattern cutting, teaching, tea and Jelly Babies! Categories
All
Archives
December 2023
|


 RSS Feed