|
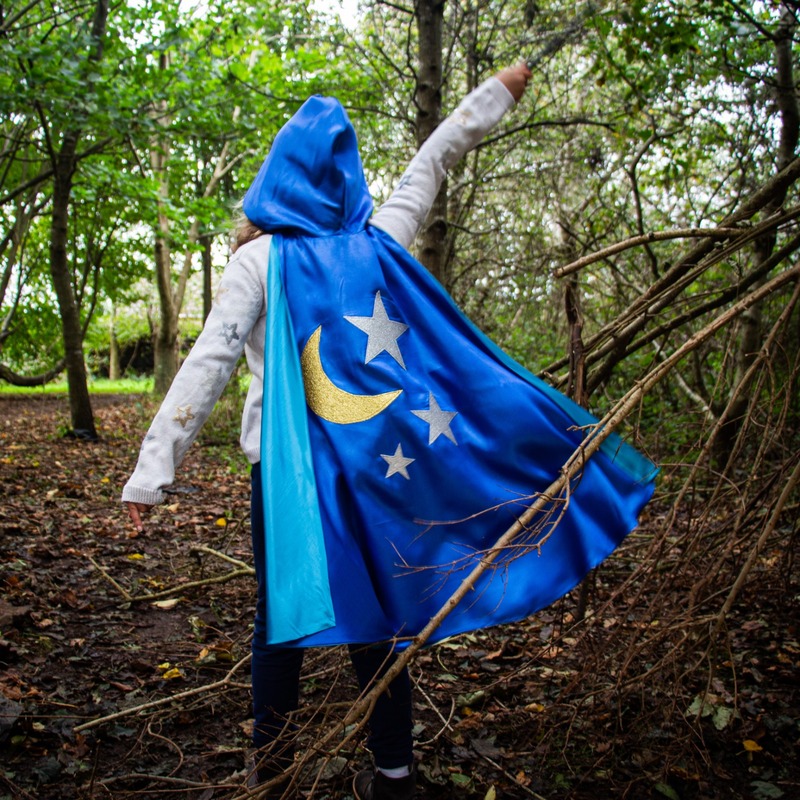
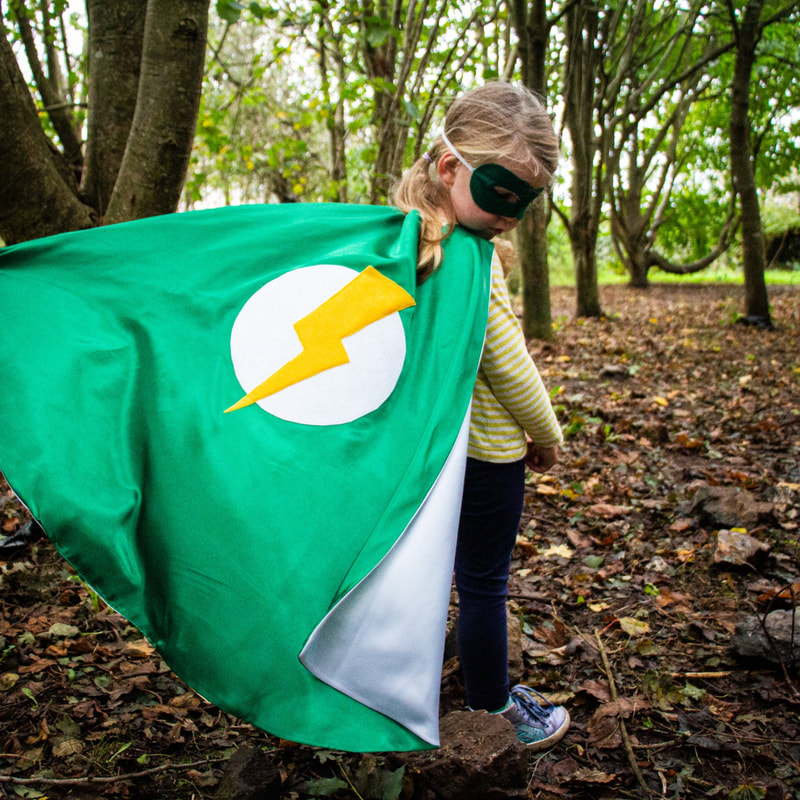
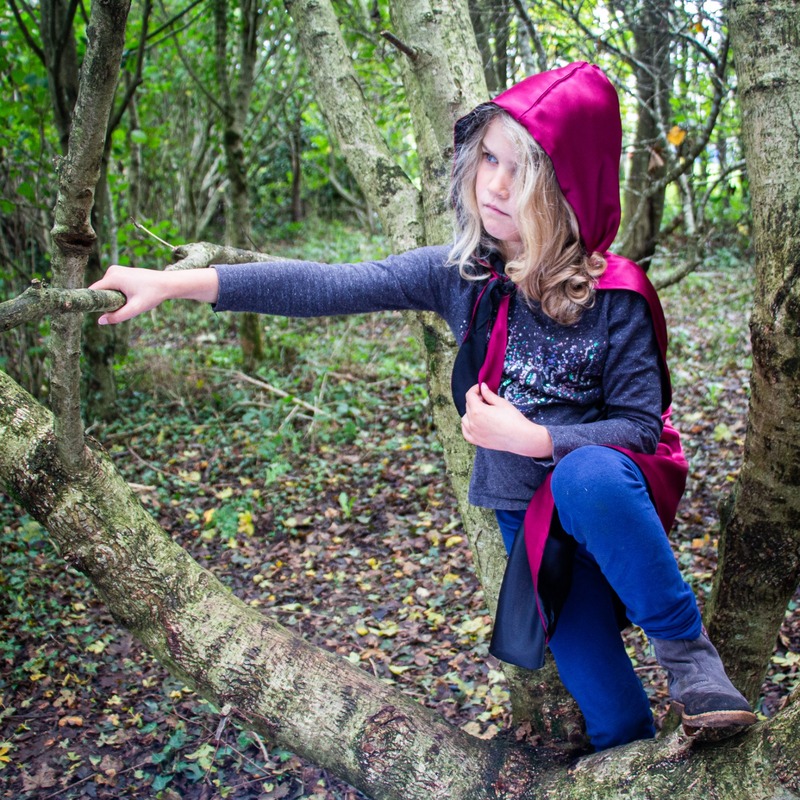
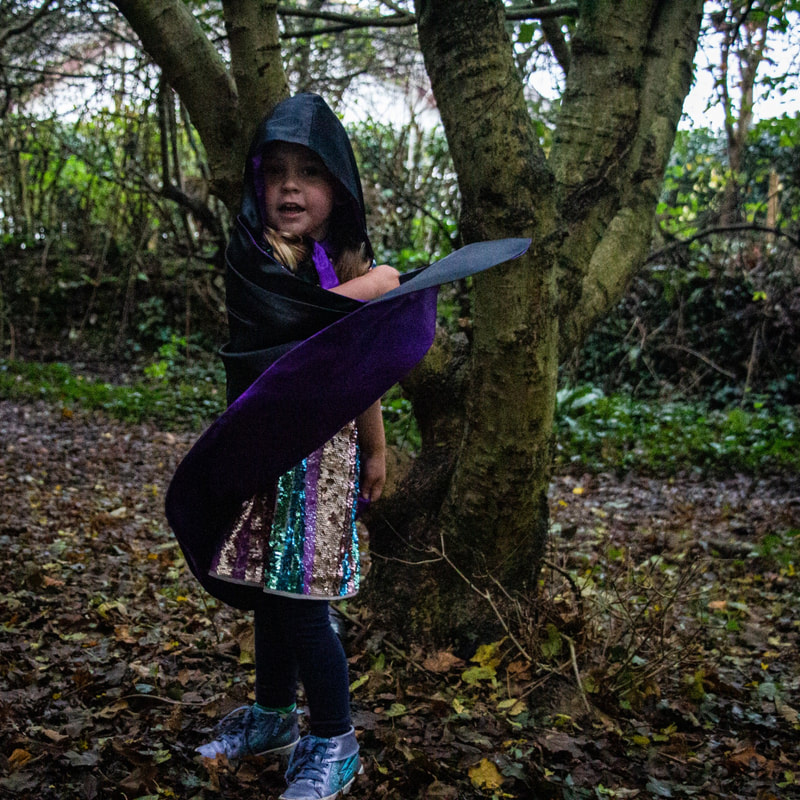
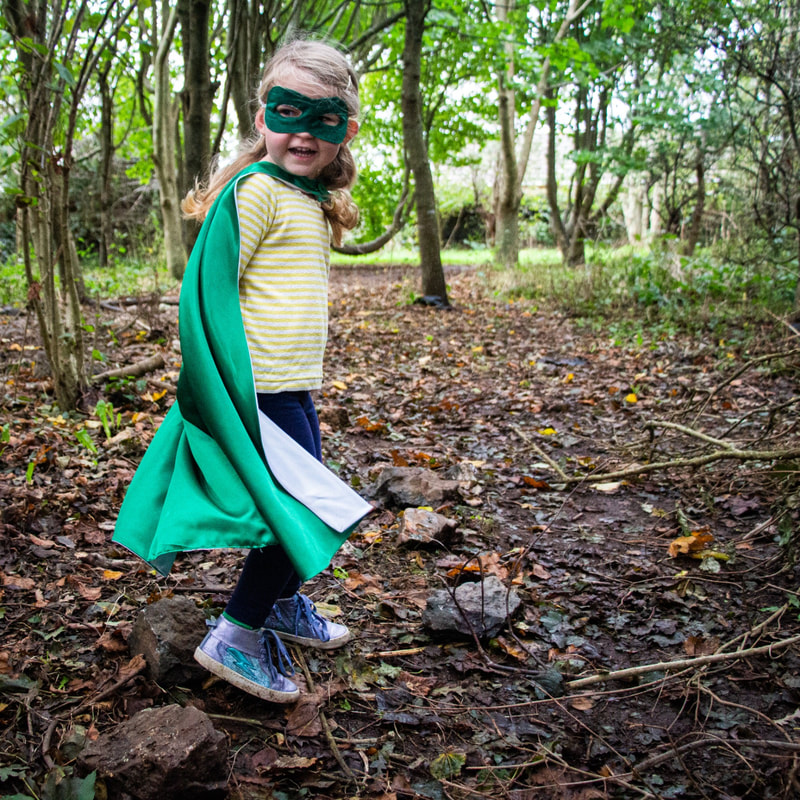
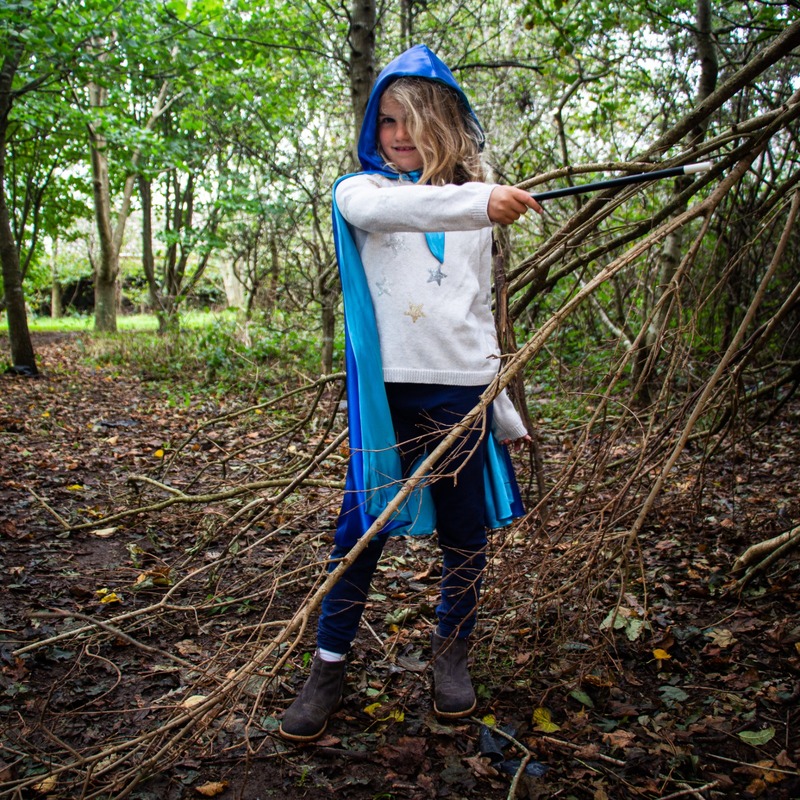
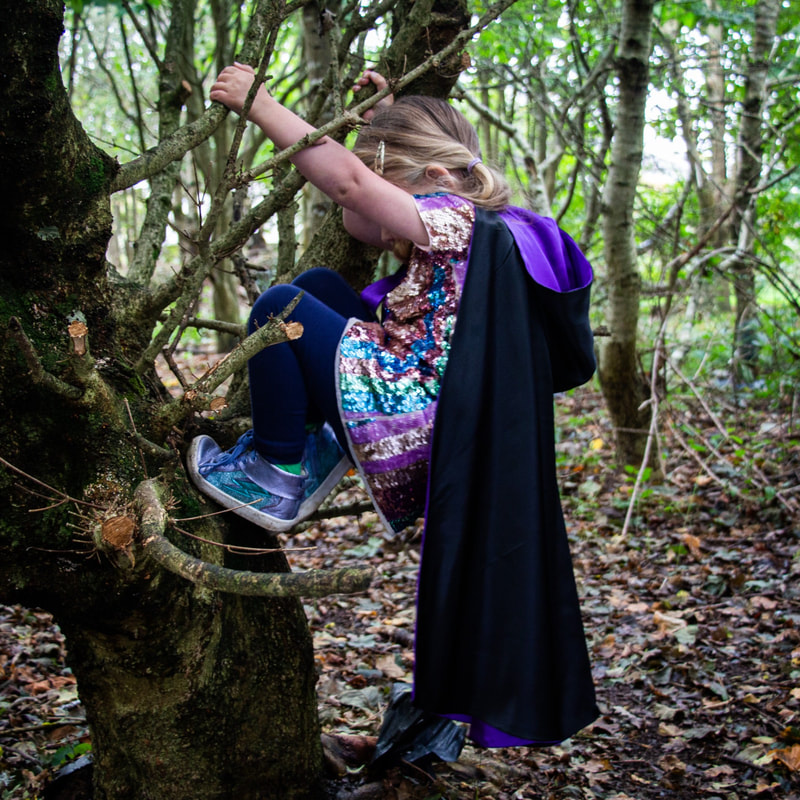
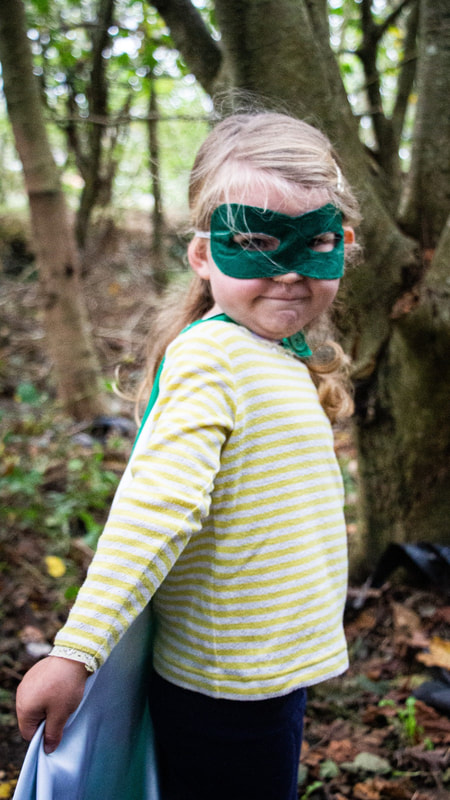
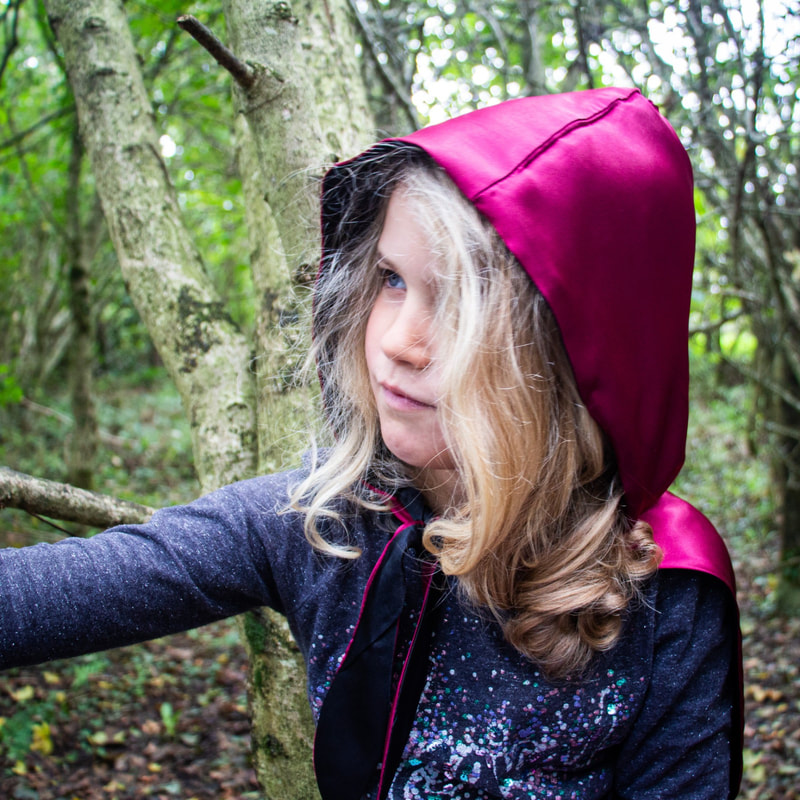
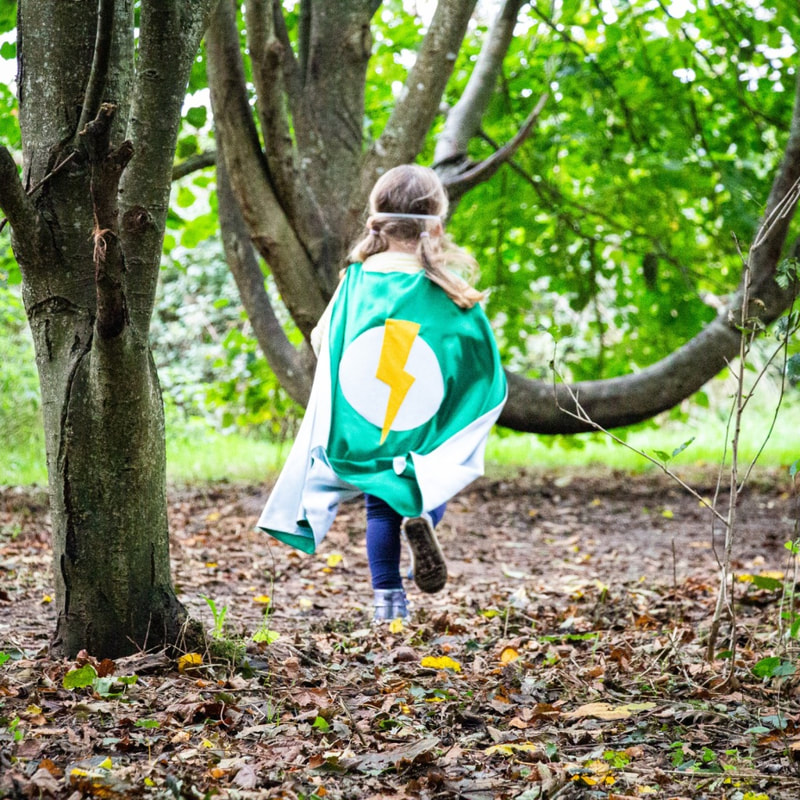
With Halloween fast approaching I have been working hard on something I have been meaning to do for a long time! Earlier this year I was commissioned to make three kids super-hero capes for an exhibition that I had been working on in another capacity and I loved the process of drafting and designing them so much that I decided to share the pattern with you, completely for free so you can make your own! Even better it is a fully pimped up cape design now complete with optional hood, and options for neck closures including velcro, button and tie fastening. What's more - it is completely reversible! Which means that you can make two characters in one cape, saving time, space and money and allowing for hours of endless fun... You can see that I got a bit carried away with samples - making a wizard, a hero, little red riding hood ( reverses to be a witch! ) and a little black and purple witch ( reverses to be a queen!) My kids have not complained though and we had a lot of fun creating this photo shoot in our local woods this morning. So, I bet you want to know how you can make one? Well, dear reader, read on! AND you may be glad to know that as with all of my other free patterns I have created a few free video tutorials to talk you through the making process - these will be linked below. NB: This is for personal use only - not for commercial production. MAKING THE CAPEDetails: ONE SIZE - fits age 3 - 8 (but could fit older if you seamed down the middle and extended from the bottom or could fit younger if you shorten) Contents: Cape pattern, tie fastening option, hood option, wizard motifs, hero motifs, hero mask. Materials: 1 m fabric for each side of the cape ( so 2m in total - 140 wide ), felt and / or glittery felt for motifs and mask, button/velcro for fastening (if required) In these examples I use a polyester satin from ebay priced at under £3 which is cheap, washable and perfectly silky for those fluttering cape moments. You could also use cotton or poly-cotton, a lightweight denim, velvet, or short pile fur (but this is not recommended for a reversible version) NOT SUITABLE FOR STRETCH. First thing's first - you need to download the FREE pattern pack here Printing: Set your printer to print at 100% to ensure that it comes out at the right scale. Print the first page only to make sure that the test boxes are correct. NB a couple of mm difference won't make much difference, but you don't want them to be any small than that.
Instructions: Firstly you need to decide which style of cape you are going to make (and cut your pieces accordingly) I have made two video tutorials which talk you through all of the options but in two separate cape projects. The rest of the instructions can be found in these videos as the construction method varies slightly depending on what closure you intend to use and whether or not you are going to make a hood! (If you are making a hooded cape with a button fastening - just make sure you insert the hood as per the wizards video before you attach both sides together and stitch around the neck) MAKING THE MASK
So there you have it! I have poured a lot of time and a lot of love into making this project - so I hope you get as much pleasure from it as I did planning it. Honestly - I am so excited for halloween this year with these dress-up capes to help get my kids into the spirit - and I have SOOOOO many ideas for more so I'm sure there will be updates as we go!
If you make this please do share it with me either in Stitch Sewcial or by tagging me @starttostitch on instagram or using the hashtag #stskidscape. I would LOVE to see how this pattern pack is transformed into your creations and see your small people enjoying it as much as mine! Don't forget you can always drop me a line through social or email if you have any questions about it at all :)
1 Comment
|
AuthorSewing. pattern cutting, teaching, tea and Jelly Babies! Categories
All
Archives
December 2023
|

 RSS Feed