|
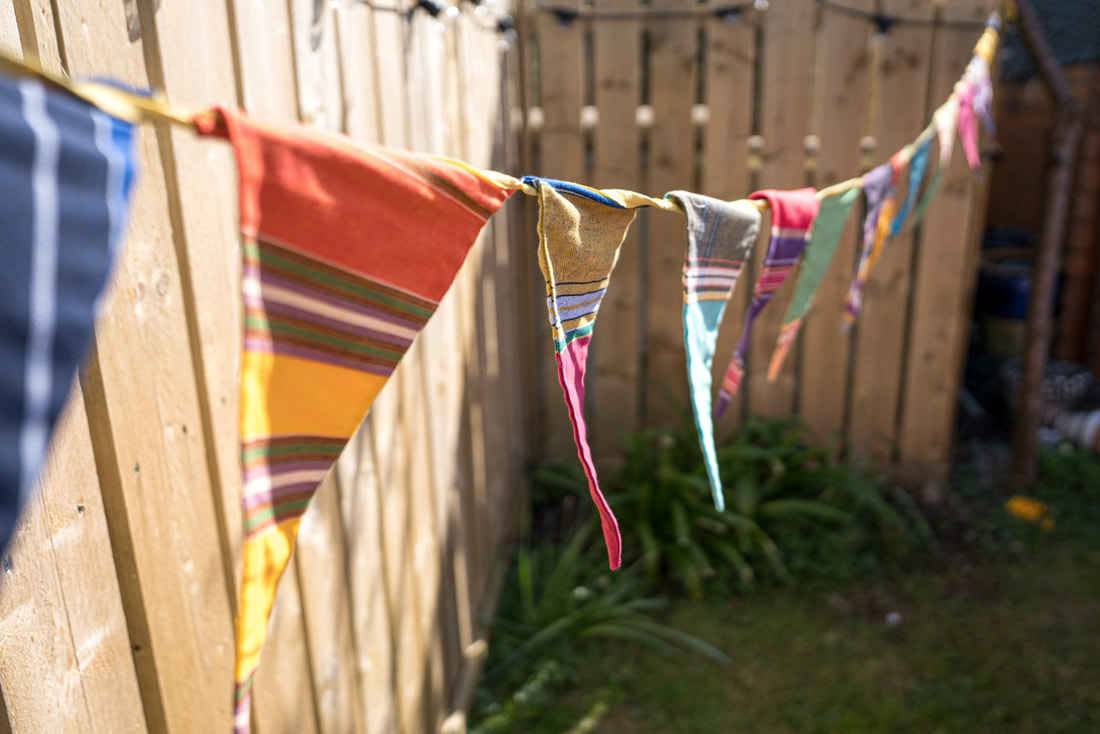
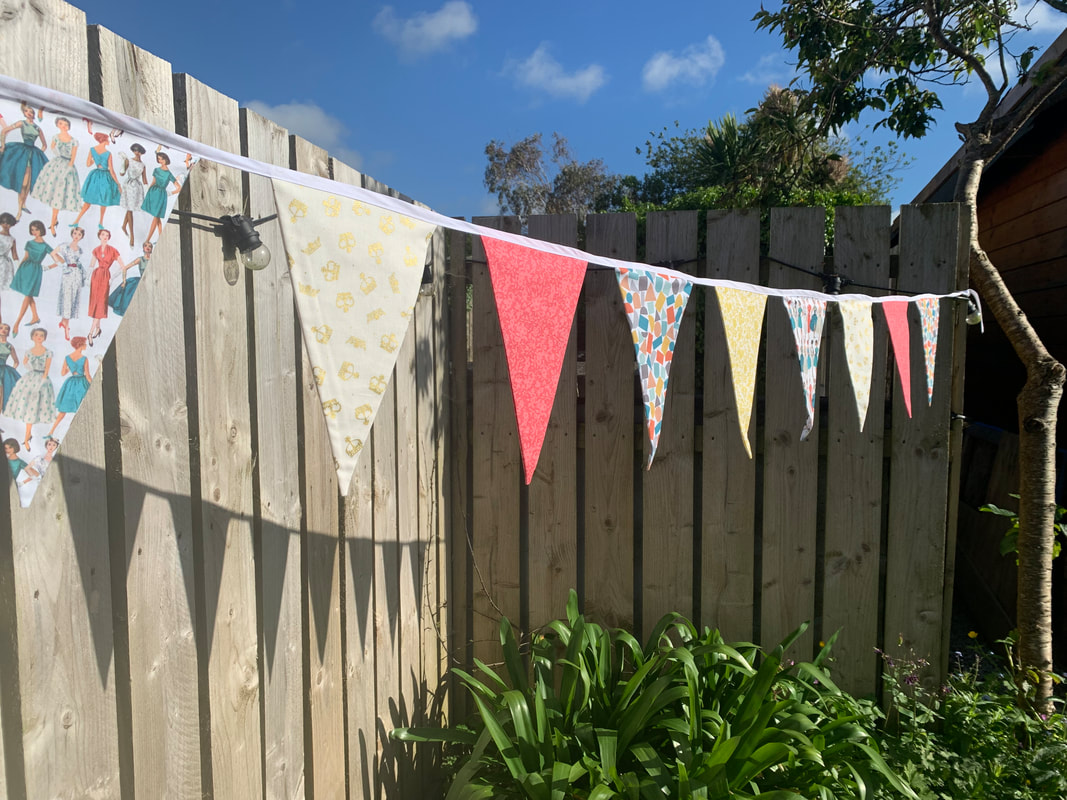
There is nothing quite so British as a string of bunting - Jam and Jerusalem all the way! With our Queen's impending Jubilee now is as perfect a time as any to get your bunting game going... After all, what is a street party without a few hundred bunting flags! This is comprehensive tutorial for making bunting - something I run as part of my Back to Basics: beginners sewing course and its a super project for getting your hand back into sewing or for those just starting out! Plus it's brilliant scrap buster for your bits and bobs or up-cycled materials! You can download the equipment list and pattern pack here. The video tutorial is below! A QUICK FYI - This video was made at the beginning of the UK Lockdown in March 2020 and was designed to give us all a positive focus ... but the content is of course timeless! Don't forget to tag me in your makes #isewlationbuntingchallenge - I'd love to see what you come up with!
0 Comments
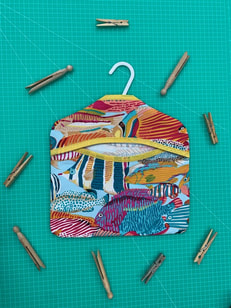
The spring weather has landed with absolute beauty this week in Cornwall, and I hung the washing on the line for the first time this year. It is always a really seminal moment for me, a sign that the year is waking up, that warmer days are coming, and that the long beach days and lazy outdoor brunches that we love here, are just around the corner. I actually really love hanging washing on a line, it's one of my favourite things to do, and a peg bag has been top of my tutorial list for ages. With today's gloriously warm sunshine, today is the day! This project is suitable for beginners and sews up nice an quickly in under an hour
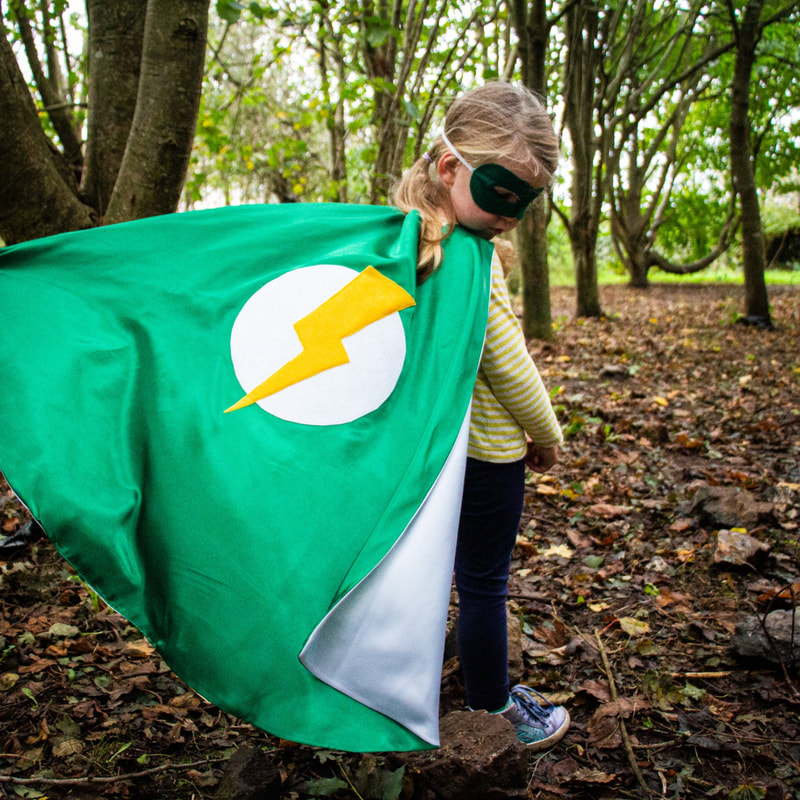
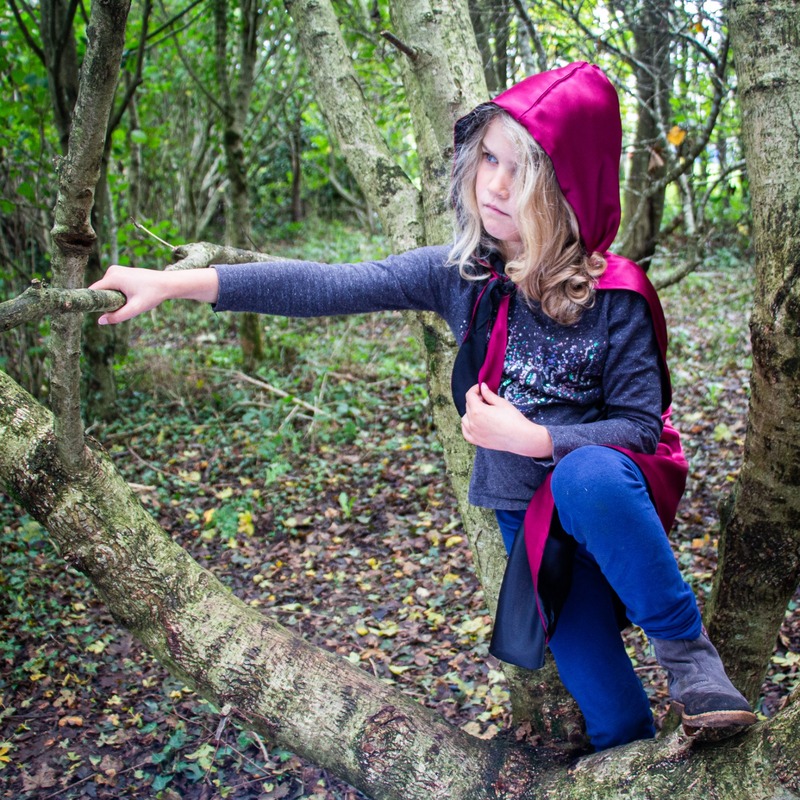
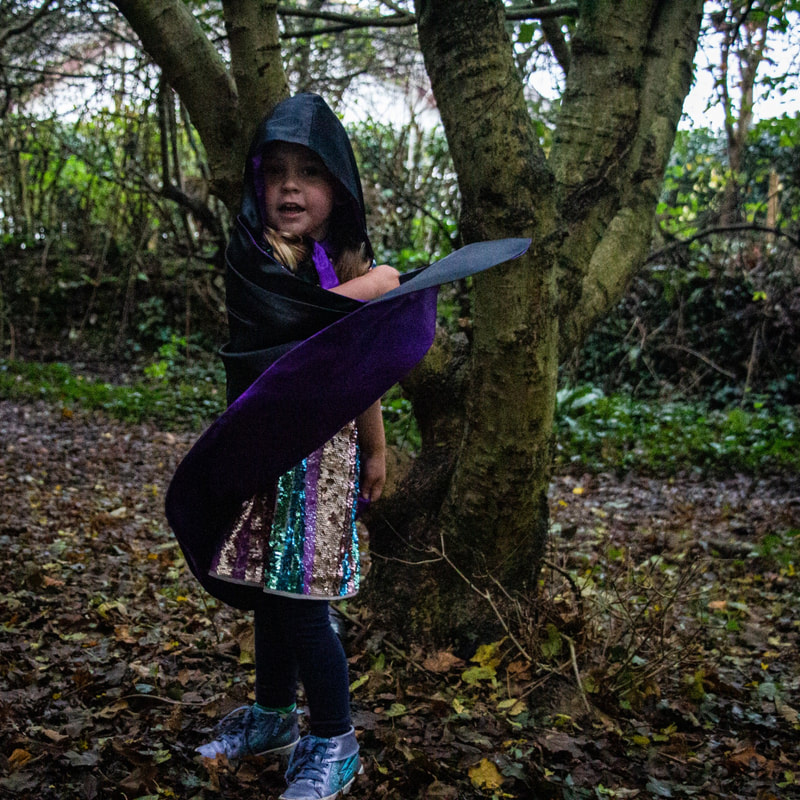
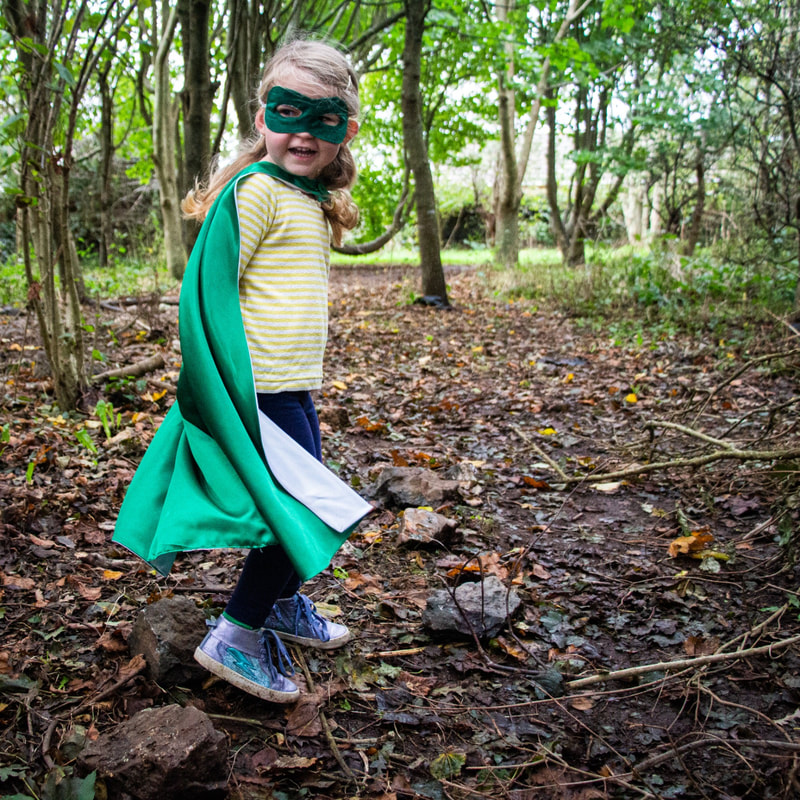
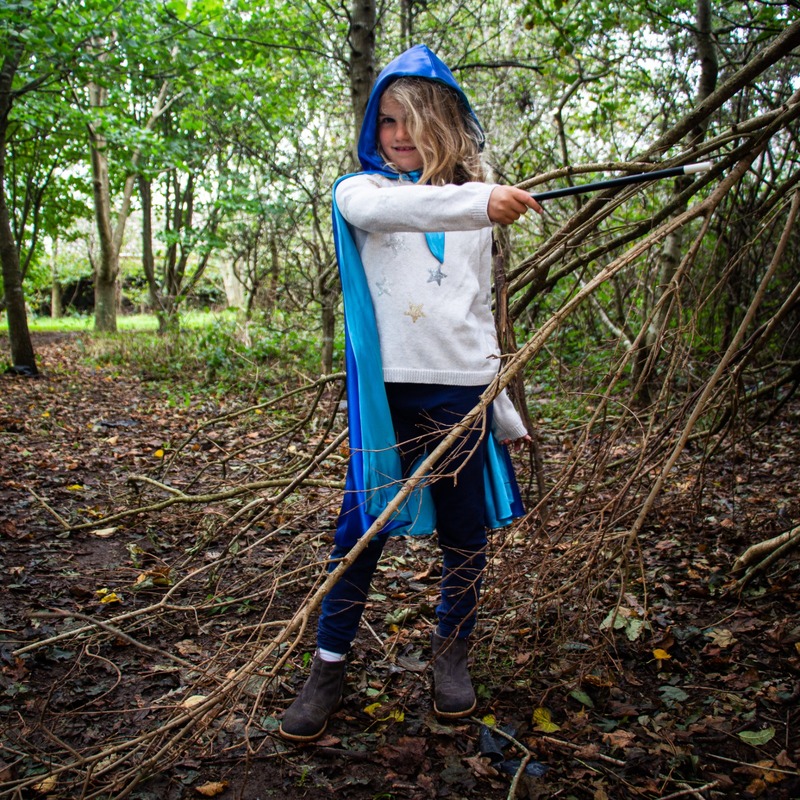
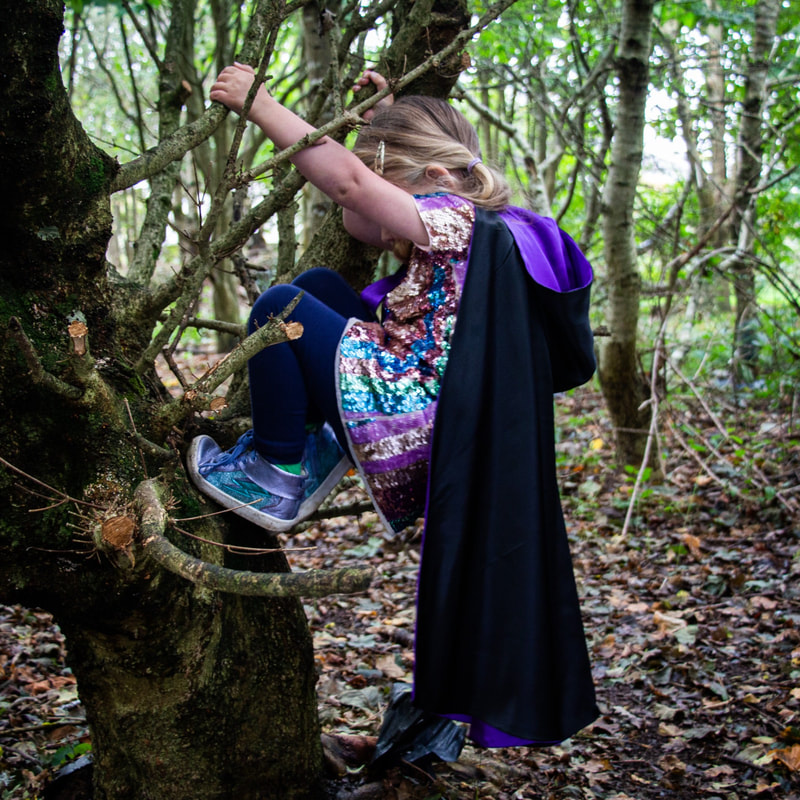
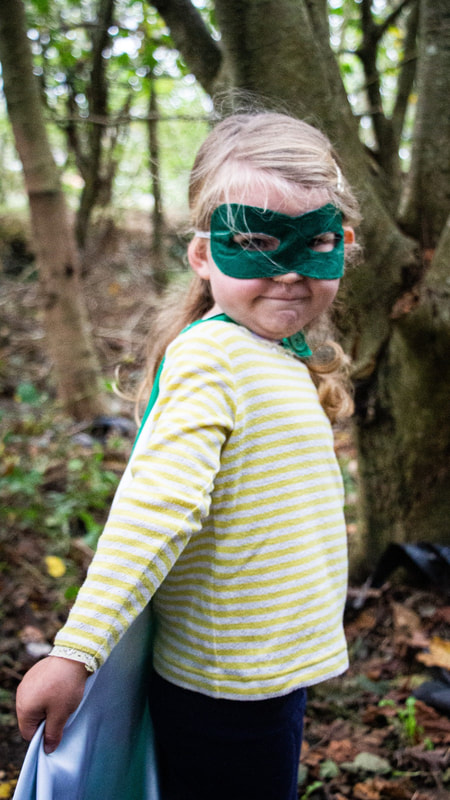
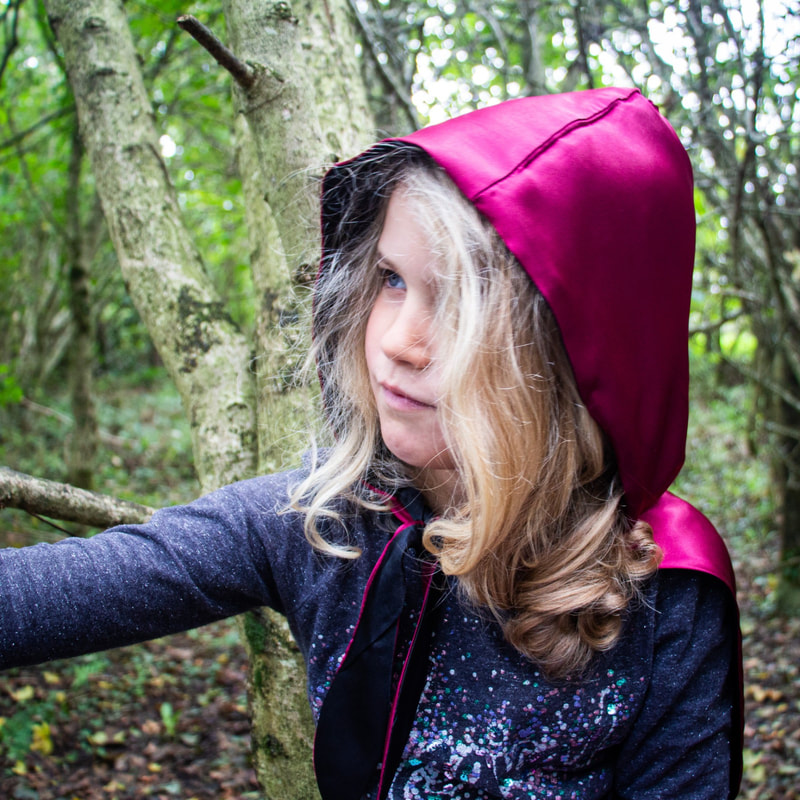
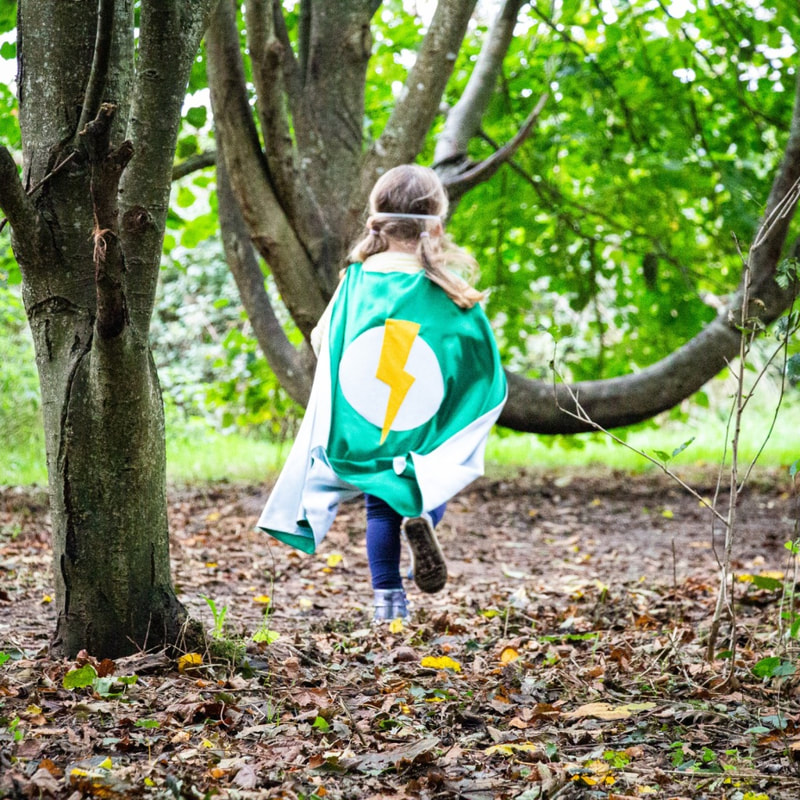
With Halloween fast approaching I have been working hard on something I have been meaning to do for a long time! Earlier this year I was commissioned to make three kids super-hero capes for an exhibition that I had been working on in another capacity and I loved the process of drafting and designing them so much that I decided to share the pattern with you, completely for free so you can make your own! Even better it is a fully pimped up cape design now complete with optional hood, and options for neck closures including velcro, button and tie fastening. What's more - it is completely reversible! Which means that you can make two characters in one cape, saving time, space and money and allowing for hours of endless fun... You can see that I got a bit carried away with samples - making a wizard, a hero, little red riding hood ( reverses to be a witch! ) and a little black and purple witch ( reverses to be a queen!) My kids have not complained though and we had a lot of fun creating this photo shoot in our local woods this morning. So, I bet you want to know how you can make one? Well, dear reader, read on! AND you may be glad to know that as with all of my other free patterns I have created a few free video tutorials to talk you through the making process - these will be linked below. NB: This is for personal use only - not for commercial production. MAKING THE CAPEDetails: ONE SIZE - fits age 3 - 8 (but could fit older if you seamed down the middle and extended from the bottom or could fit younger if you shorten) Contents: Cape pattern, tie fastening option, hood option, wizard motifs, hero motifs, hero mask. Materials: 1 m fabric for each side of the cape ( so 2m in total - 140 wide ), felt and / or glittery felt for motifs and mask, button/velcro for fastening (if required) In these examples I use a polyester satin from ebay priced at under £3 which is cheap, washable and perfectly silky for those fluttering cape moments. You could also use cotton or poly-cotton, a lightweight denim, velvet, or short pile fur (but this is not recommended for a reversible version) NOT SUITABLE FOR STRETCH. First thing's first - you need to download the FREE pattern pack here Printing: Set your printer to print at 100% to ensure that it comes out at the right scale. Print the first page only to make sure that the test boxes are correct. NB a couple of mm difference won't make much difference, but you don't want them to be any small than that.
Instructions: Firstly you need to decide which style of cape you are going to make (and cut your pieces accordingly) I have made two video tutorials which talk you through all of the options but in two separate cape projects. The rest of the instructions can be found in these videos as the construction method varies slightly depending on what closure you intend to use and whether or not you are going to make a hood! (If you are making a hooded cape with a button fastening - just make sure you insert the hood as per the wizards video before you attach both sides together and stitch around the neck) MAKING THE MASK
So there you have it! I have poured a lot of time and a lot of love into making this project - so I hope you get as much pleasure from it as I did planning it. Honestly - I am so excited for halloween this year with these dress-up capes to help get my kids into the spirit - and I have SOOOOO many ideas for more so I'm sure there will be updates as we go!
If you make this please do share it with me either in Stitch Sewcial or by tagging me @starttostitch on instagram or using the hashtag #stskidscape. I would LOVE to see how this pattern pack is transformed into your creations and see your small people enjoying it as much as mine! Don't forget you can always drop me a line through social or email if you have any questions about it at all :)
You will need: Cotton fabric from the outer and lining in a high thread count, high quality cotton, with minimal shrink (less than 5%) or pre-shrunk at 60% before use. 100% cotton twill sateen is ideal for the lining, the kind you line curtains with. 5 - 6mm elastic (6 or 8 cord woven is ideal) - 2 x 20 cm for ear elastics or 1 x 60 cm for head straps Tools: Thread Rouleaux maker or safety pin to thread the elastic Silcone or other type of toggle Scissors Pins
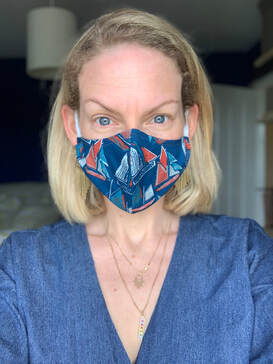
Construction is ever so simple but to help you along I videoed this quick tutorial which talks you through how to use my pattern to make a face covering with / without a filter pocket and with either ear elastics or head straps depending on your preference and length of wearing. Long term use with ear elastics can cause skin irritation and unless you specifically know you will be wearing for short periods or to go to the hair dresser I would strongly advice the head straps for secure fit and long term comfort! Good luck and let me know how you get on! Why not share your face coverings in my Facebook group Kernow Sewcial? We're a lovely supportive and buzzy bunch of sewing enthusiasts.... come and join us! Don't forget to tag me @Starttostitch if you're an insta fan like me :) Oh and below the tutorial is the small print on face coverings and recommendations for care as well as suppliers for components. The small print:
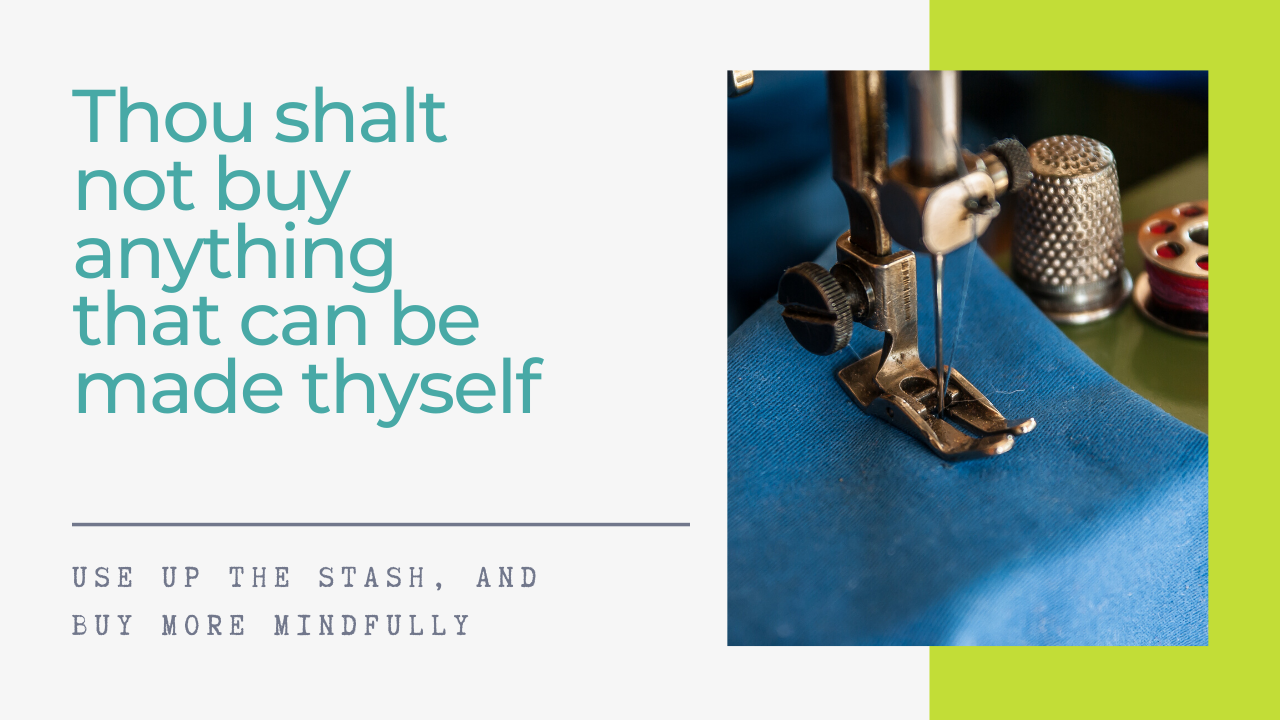
A cloth face covering is not PPE. They are not intended for the personal protection of the wearer – they are designed to prevent people who have COVID-19, but might not know it, from spreading it to others. In simple terms, if I wear one I protect you, if you wear one you protect me. Face coverings are not a substitute for social distancing or washing your hands regularly – and they need to complement these behaviours. Wash your hands or use hand sanitiser before putting it on and after taking it off. Try not to touch your face, or the face covering while you are wearing it. Once removed, make sure you clean any surfaces the face covering has touched. Regular household cleaner works fine. After wearing them store your worn face covering in a plastic bag until you have an opportunity to wash it. The elastic in this face covering design can be repositioned to make it comfortable for you. You may find that the top elastic sits best over the crown of your head (or hooked above a ponytail if you have one) with the lower elastic sitting around the back of your neck. To help with fitting on smaller heads, I suggest the use of a toggle which on my face coverings has been attached to the top elastic so that the mask can be tightened securely. I suggest that you remove this before washing to save potential clogging of your washing machine... You can buy theme here All you need to remove and replace the toggle is a hair pin and a more in depth demo can be found here Detailed information on the care of cloth face coverings can be found at the American Center for Disease Control here Ok, so I'm about 5 weeks too late to announce my big plans for 2020 but honestly this year has run away with me already! I've been setting a new group of beginners free on their sewing machines, and making some plans for future classes and courses - too many plans! And not enough time! Earlier this month I was invited to Mylor Yacht Club to talk to the ladies there about sewing, learning to sew, and the fight against fast fashion, and it was a brilliant place to share my personal objectives for my sewing activity this year... The slide below from my presentation gives you some stat's as to why it is so important to pay attention to our clothes and textiles buying habits... 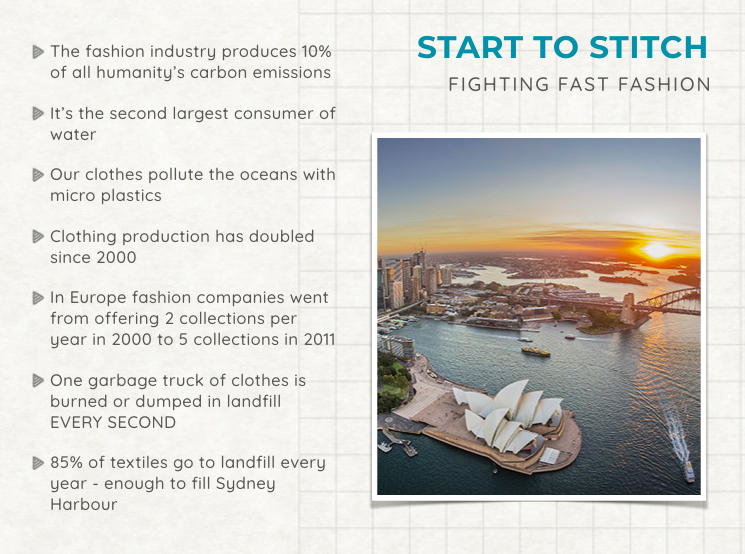 In the past I have bought things from Primark and the supermarket chains, as a quick pick me up, or in their sales, because I've fancied a bit fo a wardrobe lift. I have never just thrown clothes away, I always send things to charity, but at least two black bags of stuff go to charity from our house every year, and that is with extremely limited buying ( we are a family of four... ) as I we have more important things to spend on most of the time! I really got thinking about this towards the end of last year ... Where I live in Cornwall in the UK we are culturally extremely aware of environmental impact, surrounded as we are by sea on three sides, incredible natural landscapes and all living very outdoors lifestyles. We see on a daily basis the impact of plastics and other waste on our beaches. I am so proud to live in a place where every business is making sustained and concerted efforts to improve their environmental foot print, and cluster of villages where I live is home to environmental campaigners and leaders of textile sustainability Surfers Against Sewage and FinisterreUK. I can't escape it! With a background in fashion design I have always loved clothes, and their ability to shape my mood for a day, but my budget in recent years hasn't allowed me to be much more than vaguely functional in my dress sense, and I really wanted to change that this year, now that the baby producing days are over, and I can start to remember who I was before the girls arrived in my life! So for me 2020 will be the year of of the memade wardrobe. I have set myself a rule: What I have found already is having this rule is really really making me consider what I make - my time is so limited, and so if I'm going to spend time making something, I really have to either want it or NEED it, which in turn is ensuring that I am creating items which will surely have longevity in my wardrobe... In addition I want to be more environmental in my fabric purchasing - I'm a huge van of viscose, a fabric made as a by product of the wood industry. Its production does use up a lot of water, but it is made from otherwise wasted materials as far as I know. Bamboo is the most sustainable and wonderful fabric ever, but it is expensive! I'll do a blog post later in the year on more sustainable and environmental fabrics, but for now, I'll stick with using up my stash, buying viscose when I can - and keeping my eyes peeled for bamboo that is an affordable price point for me!
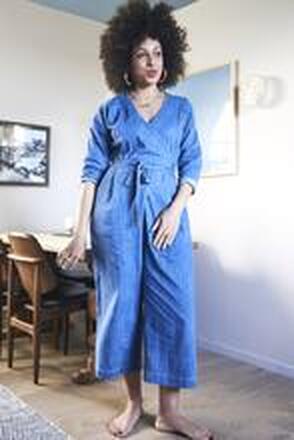
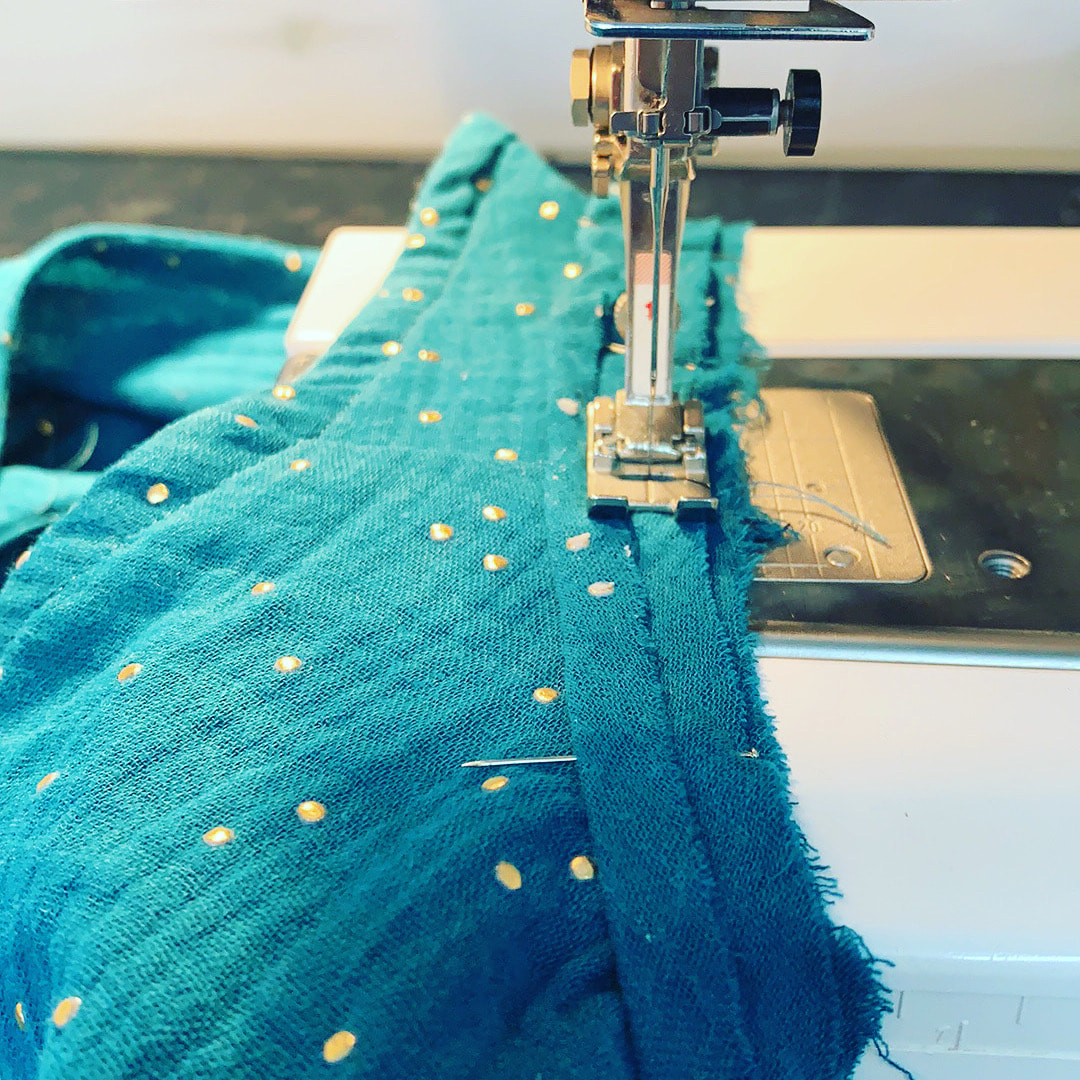
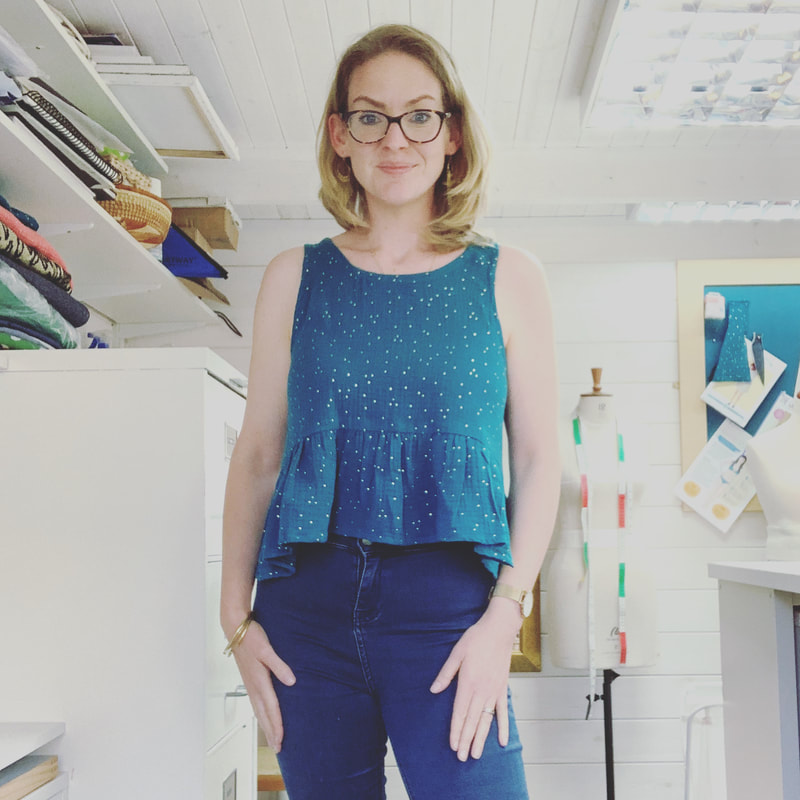
I love a free sewing pattern, and this is no exception! It's a departure from my usual style, I love the look of swing cropped peplum tops like these but I worry that with breastfeeding boobs, and a mummy tummy it's just entirely the wrong thing for me to attempt wearing. But, when I found this gorgeous teal double gauze from My Fabrics, I just knew it would become a top like this so I stepped outside of my comfort zone, searched for and found the perfect pattern in the form of the Peppermint Peplum Top and spent a wonderful couple of hours in my studio while Mr S2S took the girls out for a swim so I could sew in peace. I LOVE this pattern, Its very simple, easy enough for a beginner and a satisfying and quick make. The only thing I did differently from the instructions was stay stitch the curves first as the weave of the muslin I used was so loose, and I think with hindsight I would probably add an inch or two to the length of the main bodice so it is slightly less cropped for this 'approaching 40' mumsy-mum. The muslin is divine and the colour is gorgeous - but one word of warning, the gold spots melt off with an iron so press on the reverse or through a pressing cloth. This didn't matter for the bias facing but I did lose a fair amount along the way as it was all too much to fiddle with pressing cloths in the time I had available to get it finished before 2020...
I am thrilled with this and really glad I have a length in coral as well to be able to make one for next summers Cornish beach going and hopefully a holiday too. Have you made this top? How was it for you? |
AuthorSewing. pattern cutting, teaching, tea and Jelly Babies! Categories
All
Archives
December 2023
|


 RSS Feed