|
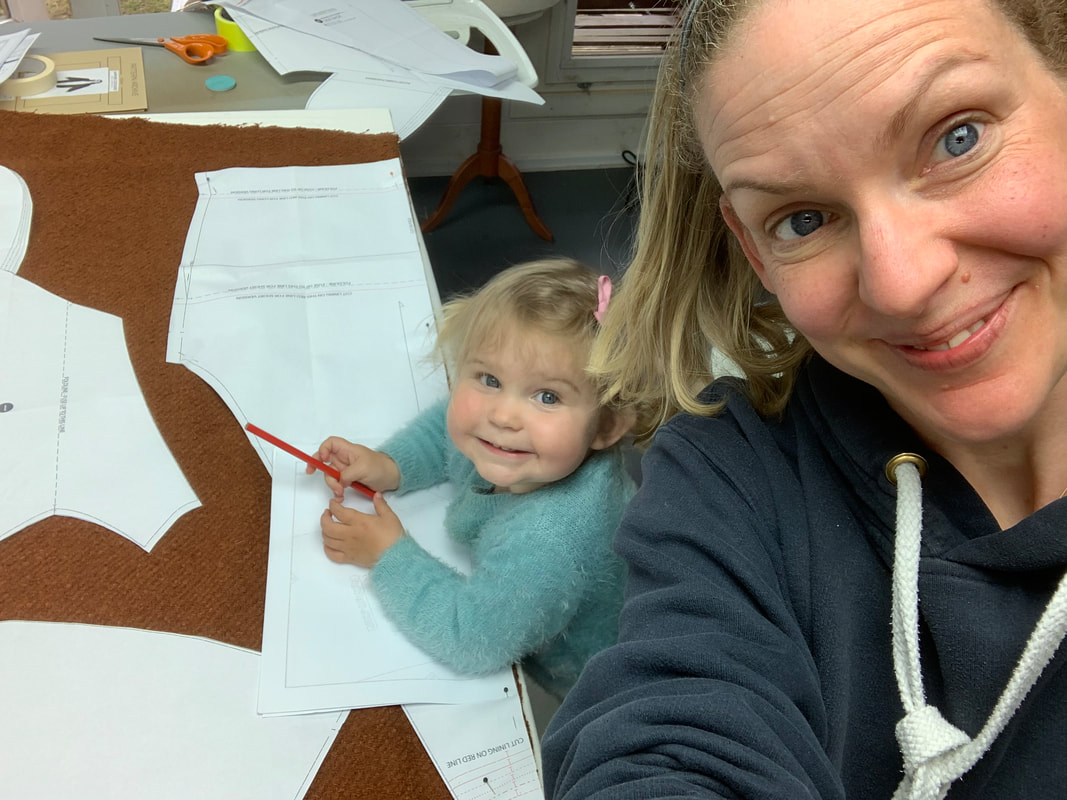
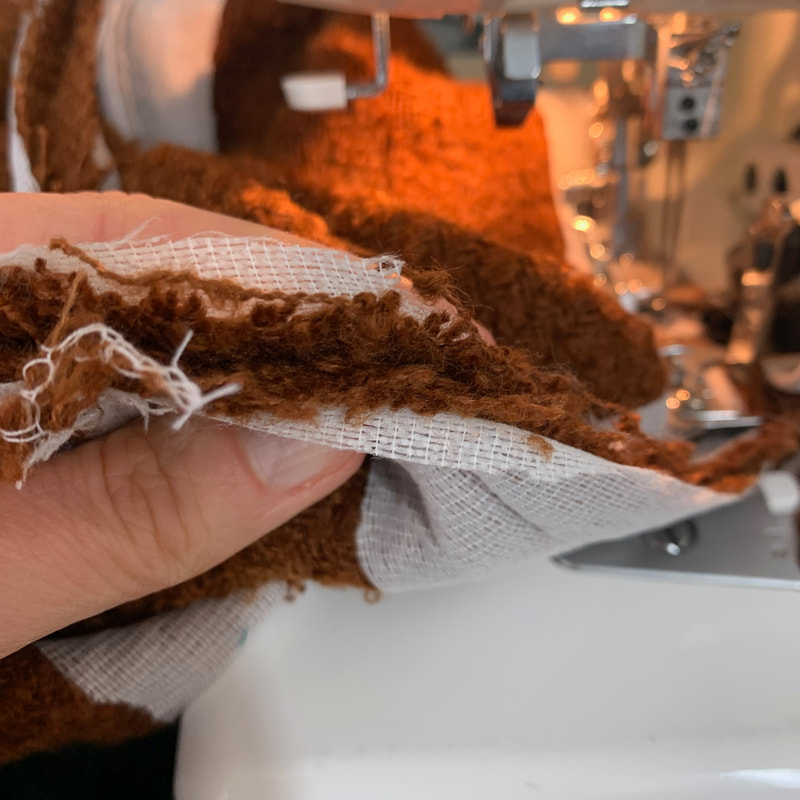
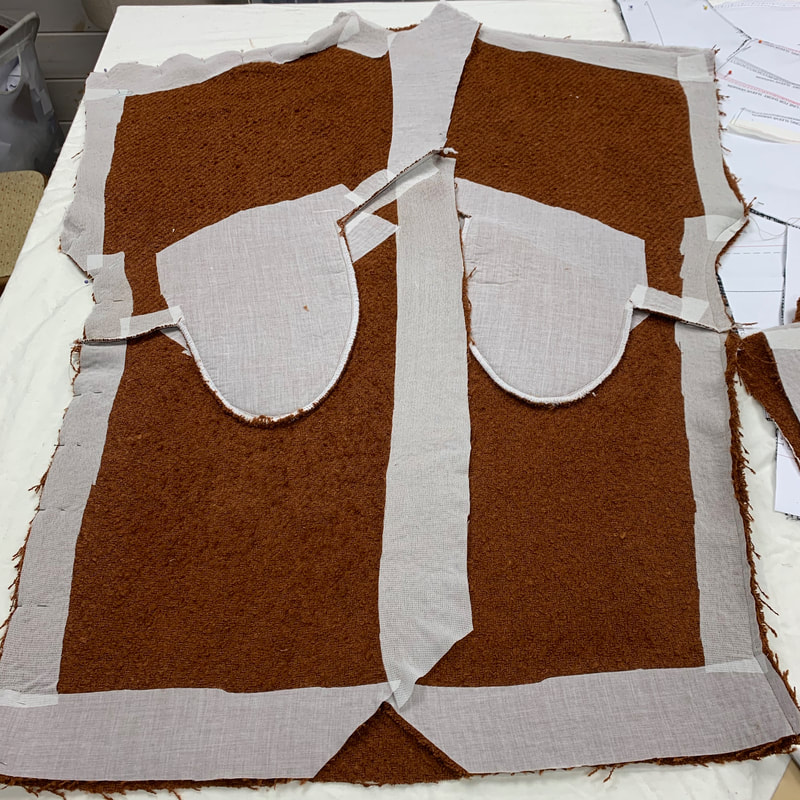
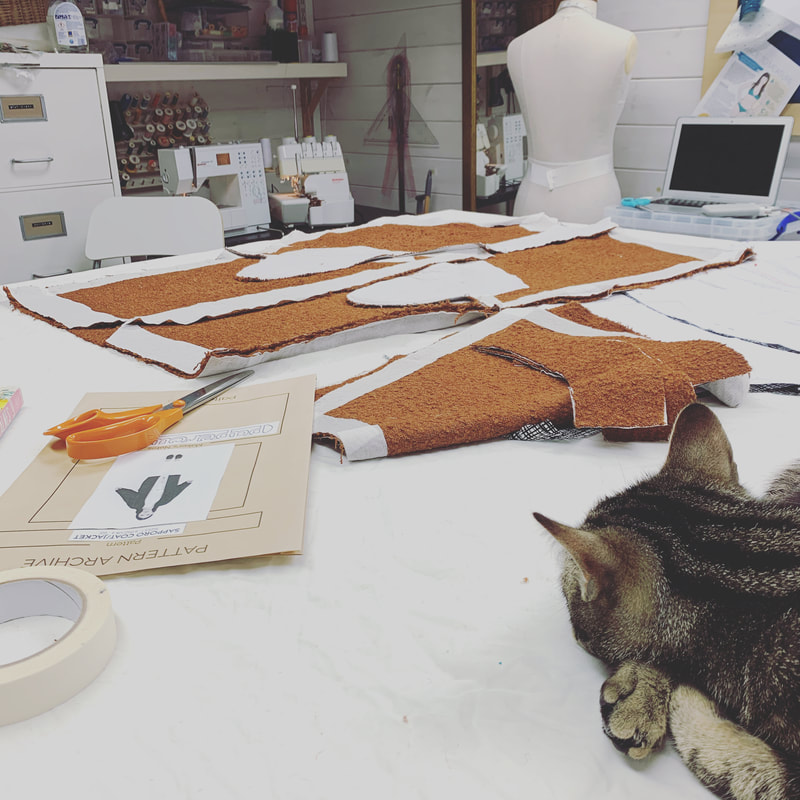
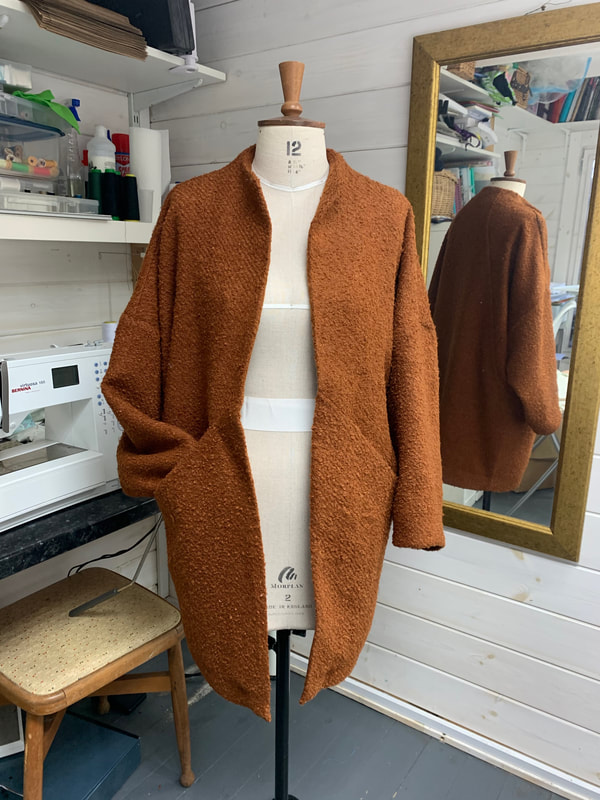
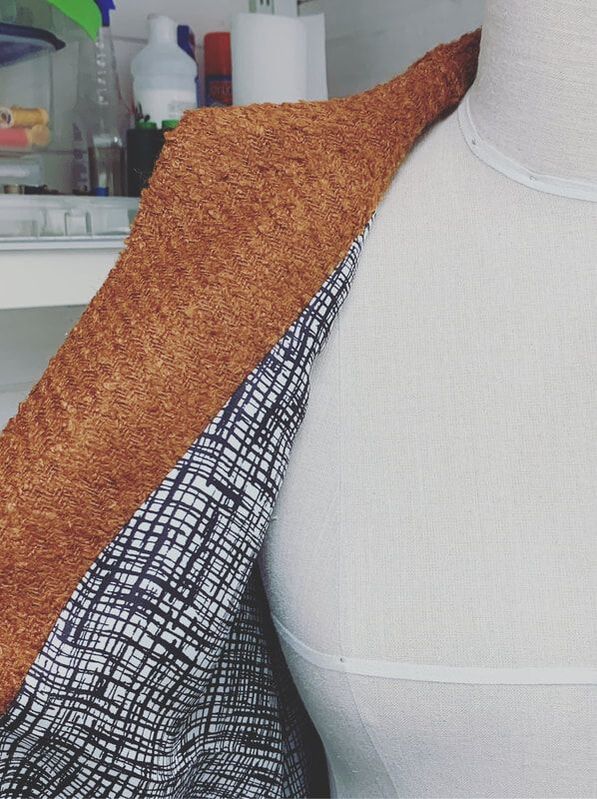
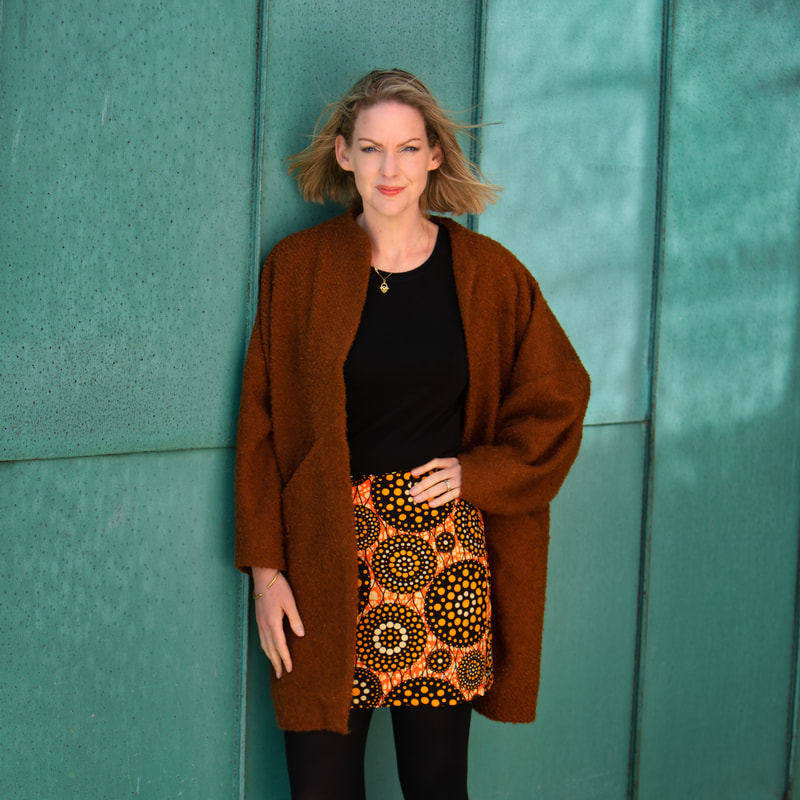
May 2022: I've since made another one of these fab coats! - You can read on for the full pattern review or check out this fab pink version here When I signed up for The Fold Line's amazing online Sewing Weekender event I knew I wanted to utilise the rare occasion of a whole weekend dedicated sewing time to one large project I have wanted to complete for ages. Despite having a large UFO to finish ( The Wardrobe By Me Cocoon Coat - more on that later! ) I went with the Sapporo Coat by Papercut Patters because I literally have SO many of these saved from instagram for inspiration and I knew I would love it as a garment, especially as a throw over in the transition seasons. I had in my mind a bright mustard yellow one and hunted and hunted for the right, affordable fabric (tricky when coating is so pricey). I found this fab one from Minerva but when it came it was much more ochre in tone and i have to say I was a bit disappointed when it arrived. The Sapporo Coat is a total legend on the indie sewing scene and I was keen to see if it live up the hype... I was not disappointed! It was my first foray into coat making for myself having only ever done some soft tailoring for clients during my bridal days, and I learnt quite a bit, the bagging out of a lining is totally magic! Getting started was hard in itself because the boucle weave is so loose the fabric was horribly unstable. I ended up taping a bed sheet to my cutting table so that I could increase friction and stop the slipping about which worked quite well. I cut a size 2 which was a size smaller than my measurements ( UK 10 - 12 ) and the fit in the end was wonderful. The amazing lining you can see below was a bargain at £5 a metre from Fabworks Mill Shop The fray factor was a HUGE concern when it came to removing pattern pieces and stitching so in the end I heavily pinned all the pieces and then carefully removed the pins one edge at a time while pressing on iron on interfacing onto each seam. I did this with scraps I had left over from scrubs making so it is not a pretty effort but it did the trick when it came to assembling. You can see from the seams how serious the fray situation was! Assembly wise there was nothing that was tricky or hard to understand, and you can see from the birdseye view how the assembled coat looked on the inside with all the interfaced edges. It's really worth thinking out of the box with fabrics if they present you with a challenge - these tools are in our arsenal for a reason. My problem: unstable fabric - my solution: stabilise it - my tool: fusible stable interfacing. It worked a treat and the finish is clean and crisp and lovely! Christo and I did a proper shoot for this coat and the huge number of other garments I've made since Feb one very windy day last month, and I'll share the pics for that in another post but here's a teaser - I feel so glamorous and snug in this coat and I literally want to make a thousand more to accompany the many Zadie Jumpsuits I have in my head
2 Comments
Jamie Bartlett
28/9/2020 01:16:18 am
So pretty! I am knee deep in sewing mine! I am however getting stuck n the instructions for the fusing at the wrist of the main fabric. I can’t visually understand how to do that step. Do you have any tips? I’ve searched for a sew along that anyone has done with an explanation for that step and been unsuccessful.
Reply
Leave a Reply. |
AuthorSewing. pattern cutting, teaching, tea and Jelly Babies! Categories
All
Archives
December 2023
|

 RSS Feed